

This rose was held by the customer for over a month in a warm garage, in the bag it was shipped in. The rose got too hot and the canes died back killing the plant.
IMPROPER STORAGE
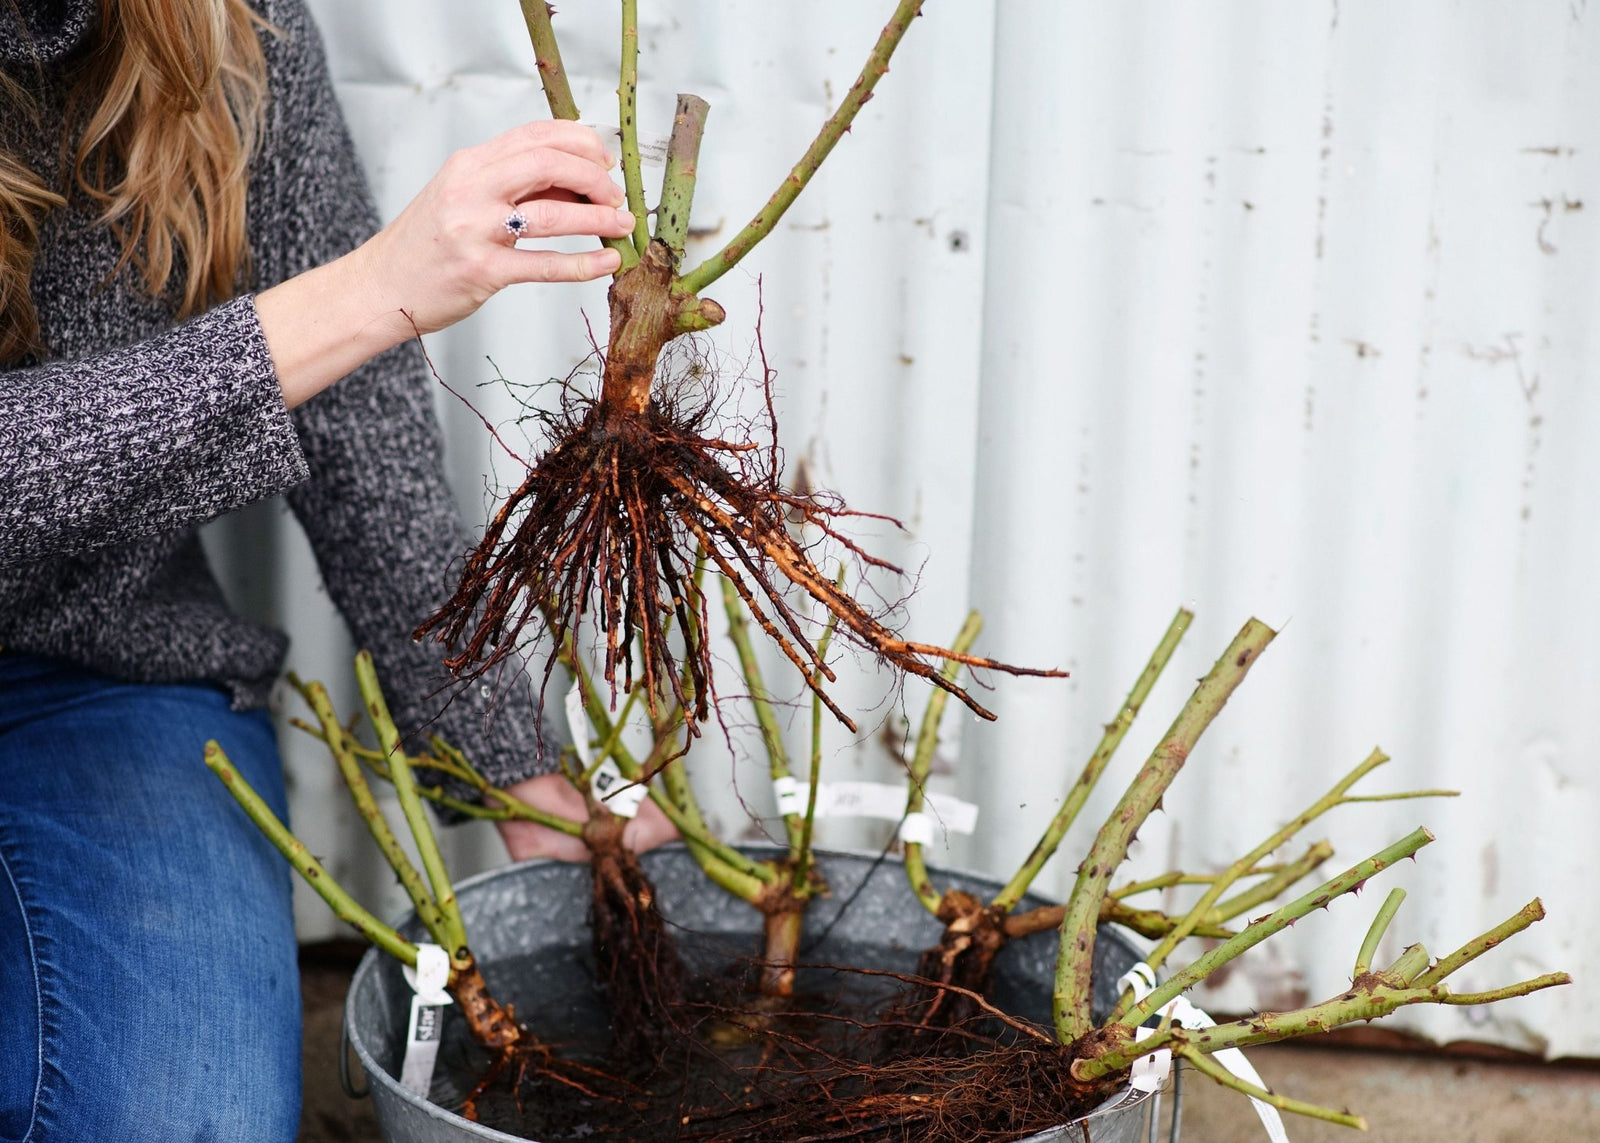
For the best chance of success with your bare root rose, we recommend planting right away. The longer the rose is held the more likely it will develop mold or decay on the canes & roots and use up all of its stored energy reserves to stay alive.
That being said, life happens (and sometimes wacky weather)! If you are not able to plant your rose immediately, wrap it back in the plastic bag it came in and store it in a dark, cool location, with a temperature of 35-42 degrees F (such as a garage, basement or closet) for up to a week. If you are a flower farmer or floral designer with access to a floral cooler you can store the sealed bag in the cooler at 34 degrees F. Do not leave it in a location where it will freeze or in a warm interior of a house. Check on it daily to make sure it remains moist, but that mold and fungus are not developing on the canes of roots.
If you need to hold it longer than one week a recommend a process called "heeling in" which is a temporary planting of the rose until you can plant it in it's permanent location. Read more on our blog post: How to Heel In Bare Root Roses.
ALLOWING YOUR ROSE TO DRY OUT BEFORE PLANTING
PLEASE DON'T unwrap your rose plant, remove it from the bag and leave it sitting in the corner of your garage for 2-3 weeks drying out! Believe me when I say that we've received more than a few reports over the years from customers doing this. It's like leaving a head of lettuce on the kitchen counter and expecting it to be fresh, not wilted and ready to eat after two weeks.
Your bare root rose needs to stay moist and cool in order to stay viable until planting. If you can’t plant right away, wrap the rose back in the plastic bag and leave it in a dark, cool location with a temperature of 35-42 F degrees. Do not leave the bag open and let your rose dry out. Check on it every 1-2 days to make sure it remains moist and no mold or cane decay is developing. You could also "Heel In" your rose if you need to store it for a longer period of time before planting. Click here to see our step-by-step directions for heeling-in your rose plant.
You may not see the damage from drying out right away but a few weeks later, after planting, the canes will turn black and the rose eventually dies. Use the mist setting on your garden hose nozzle to keep your rose moist, cool and in a dark location until you can plant it!

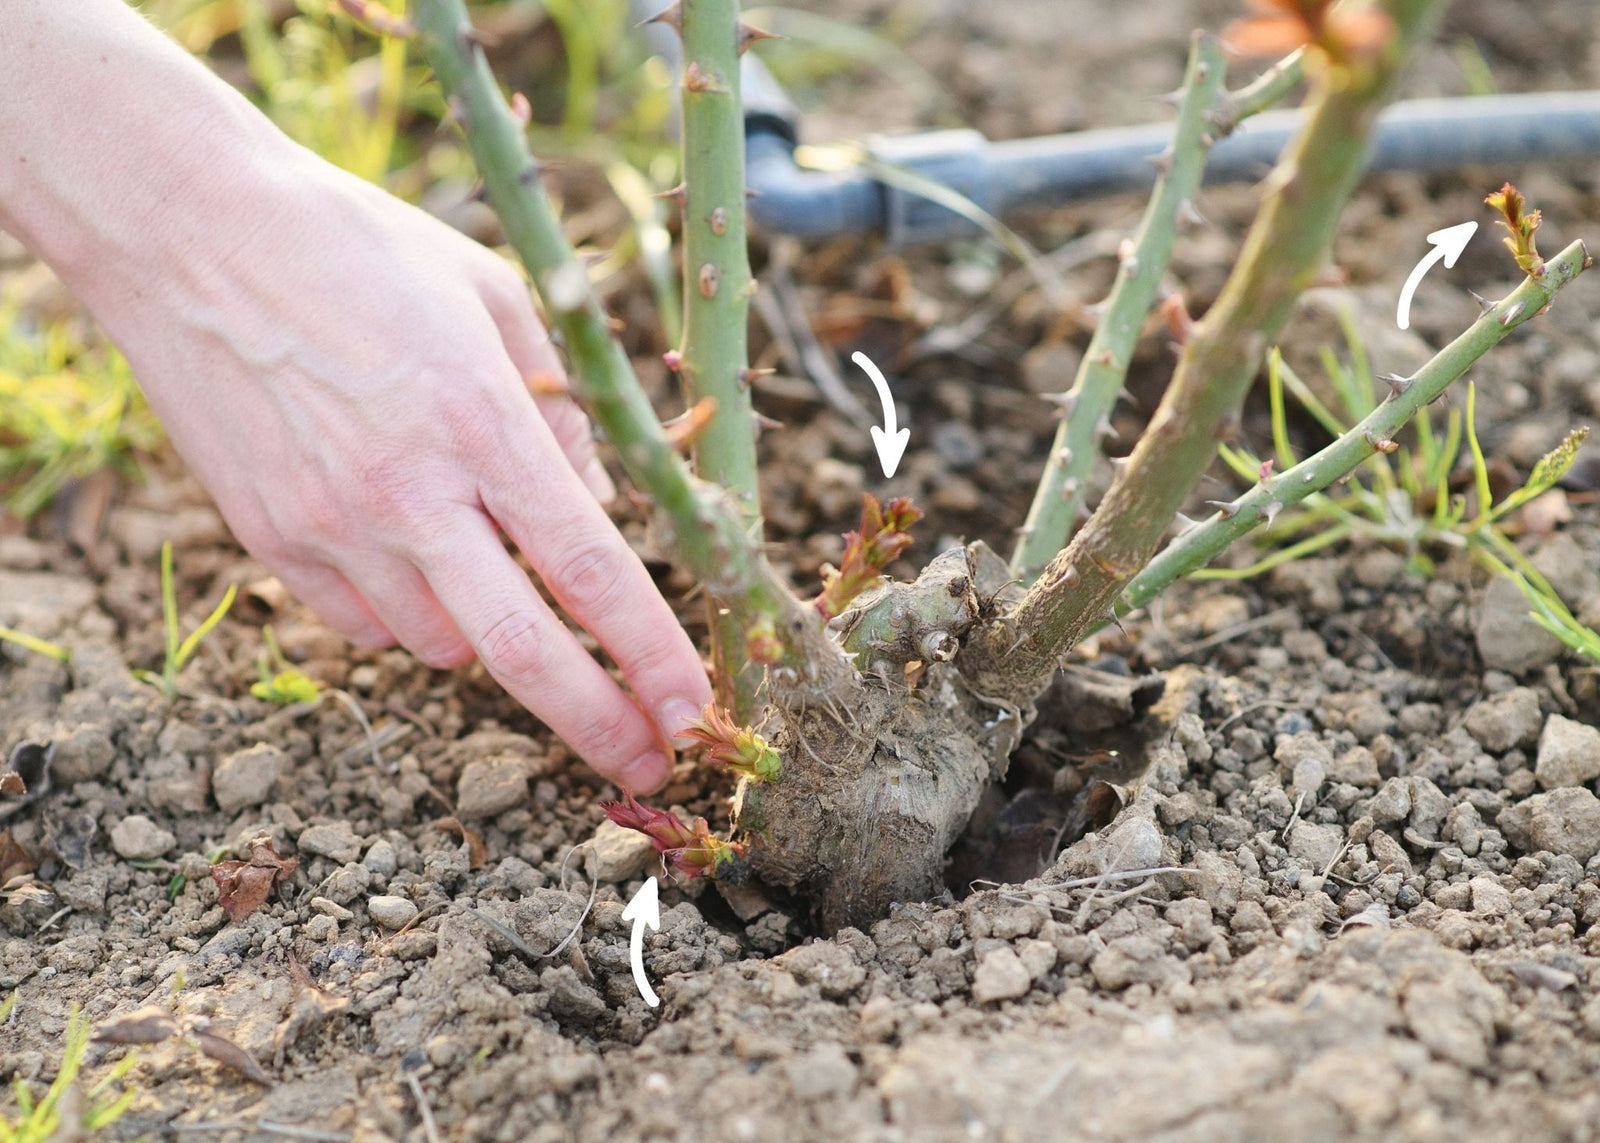
The rose on the left is planted too high with the graft union over 6 inches above the soil line. The feeder roots of the plant are not completely covered and growing on top of the soil. The own root rose on the right is planted much too low with the base of the canes covered with thick mulch.
PLANTING YOUR ROSE TOO HIGH OR TOO LOW
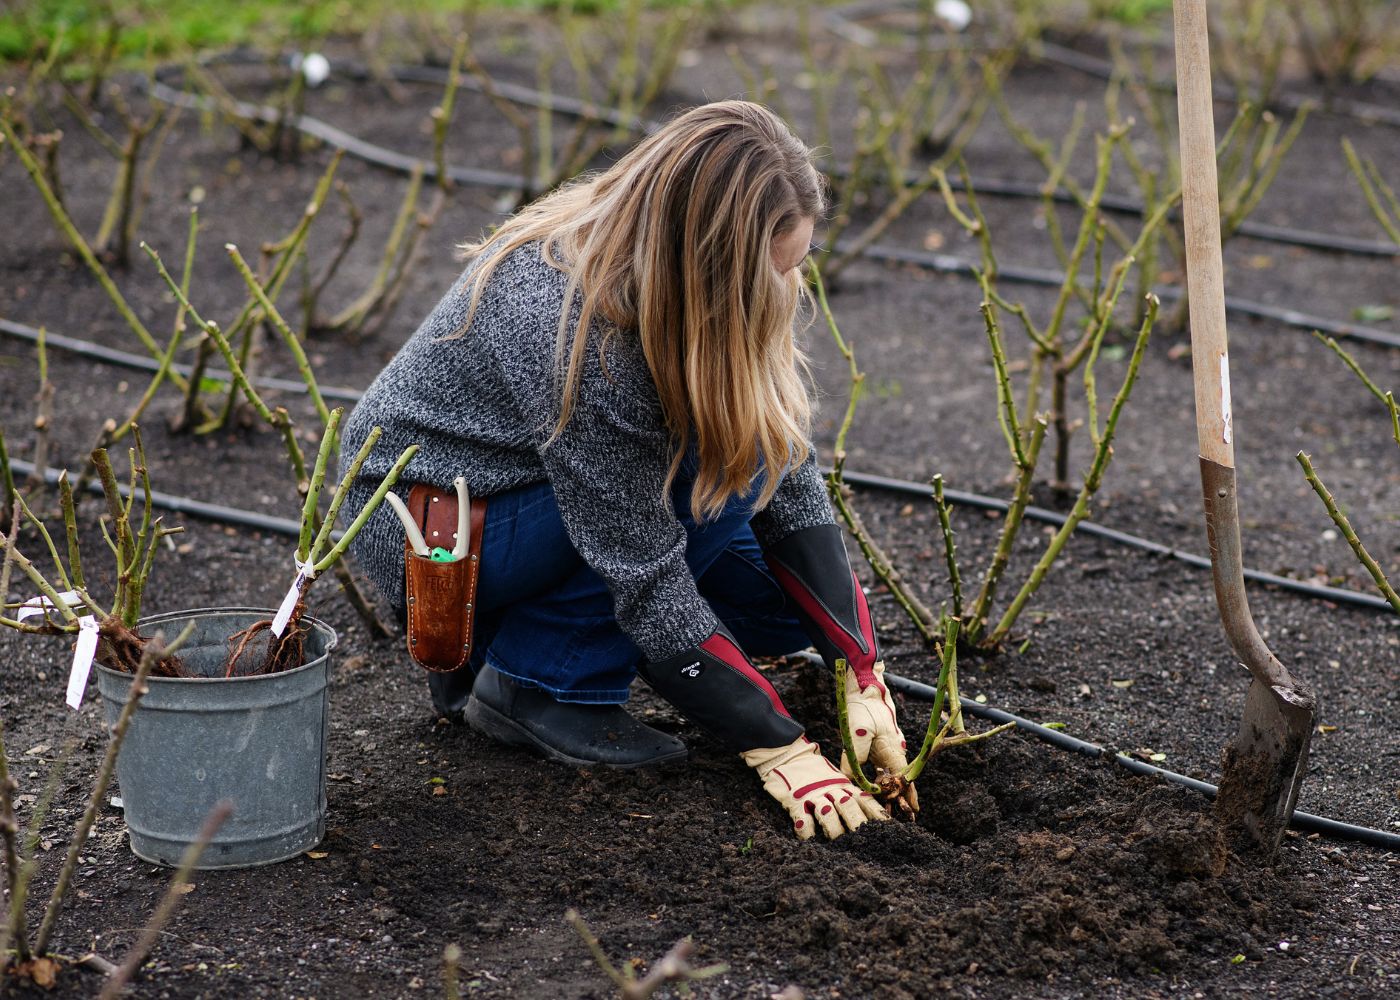
When planting your bare root rose, dig a planting hole big enough to fit the depth of the roots. If you have a grafted rose, in cold weather regions I recommend planting the bud union 2-3 inches below the ground. In warmer weather regions I recommend you plant the bud union 1-2 inches above the ground at most. The soil and or mulch/compost should be nesting just below the graft union at the base of the canes. This way, if you end up with suckers it’s much easier to remove them than when the graft is buried and you don't end up with the giraffe neck in the photo above. For own root roses plant to the base of the canes.
PLANTING OUTSIDE OF RECOMMENDED DATES FOR YOUR GROWING ZONE
Bare roots roses are planted January through May depending on your growing zone. Use the chart below to help you plan when to order and plant bare roots in your garden.
Zones 9-13: late January - late February
Zone 8: mid - late February
Zone 7: early - mid March
Zone 6: mid - late March
Zones 3-5: early - mid April
If it is too warm or too cool to plant your rose it will not thrive. For example if you live in a warmer area like Zone 9 and you try and plant a bare root rose in April it will be too warm and the plant will have a more difficult time adjusting to the warmer temperatures breaking dormancy. It will experience more cane dieback and require more water frequently to get the roots established. We find roses planted this late for warm season customers usually do not survive after planting without extra TLC and attention. Likewise if you are a cooler area like a zone 6 and try and plant in February when you have snow on the ground and hard freeze weather, your rose will also not survive the cold temperatures experiencing dieback.
Bare root roses like to be planted during your dormant season after your risk of hard freeze weather has ended. When you do your dormant pruning is the perfect time to plant your bare root roses. So take it from me and my many years of hearing sad customer stories, stick to the chart below to select a planting time and you'll set yourself up for success!
Not sure of your growing zone? Enter your zip code here!

This rose was watered by the customer only once a week after planting.
IMPROPER WATERING
Water your newly planted bare root roses daily for a minimum of 1-2 weeks with overhead water to keep the canes and roots hydrated as it’s getting established. You can skip this step if you get a lot of rain in your area but if you aren't you need to mimic the winter watering (especially in a drought year) that Mother Nature should be doing. You can continue to overhead water beyond 2 weeks as needed depending on how quickly your rose plant develops. After you see buds start to push and the first signs of leaf growth you can stop overhead watering daily and place the plants on a drip irrigation system or hand water at the base of the rose as needed. Roses like to be moist in the root zone depth but do not like standing water at the surface.
PLANTING IN THE WRONG LOCATION
Although roses are extremely resilient plants, they do have conditions that are optimal for success. Who loves the sun? Roses! Select a location that has six to eight hours of sunlight, well-drained soil, and minimal wind.
We always recommend testing your soil before planting your bare root rose. Find my favorite soil test kit here. If your test comes back with flying colors, you’re good to go! If the results recommend adding fertilizer or other amendments, make sure to do so before planting. If your results are less-than-favorable, consider choosing a different location for your rose, or plant in a raised bed or pot instead. For more tips on planting roses in containers, check out our blog post.

Colored bark around the base of the plant makes it difficult for young bare root plants to get the water they need to their shallow roots.
USING COLORED OR THICK BARK AROUND THE BASE OF YOUR ROSE
The majority of unsuccessful bare root roses we see from customers are surrounded by colored of thick wood chips or bark. This layer sits on top of the soil, blocking moisture from reaching the roots during those crucial early weeks after planting. Additionally, color-treated products may contain chemicals that could harm your roses. We recommend removing colored or thick bark and covering the base of your canes with a small layer 1-2 inches of basiccompost or compost + loose mulch instead. Save the thick wood chip and bark products for another project in your garden.
APPLYING FERTILIZER TOO SOON
DO NOT apply any rose fertilizer until you see your first set of leaves push out. Give your bare root rose time to get established before adding anything extra to the soil. Once the first full sets of leaves appear, feed your rose with a balanced rose fertilizer once every 6-8 weeks. If you didn’t get a soil test before planting, consider getting one post planting to learn how to amend your soil with the ideal elements for your garden. You may not need to add any fertilizer at all!
APPLYING SYSTEMIC INSECTICIDE OR FUNGICIDE IN THE FIRST YEAR
DO NOT use any granular systemic insect or fungicide control product on your bare root rose in its first year. The first year and beyond, it's safe to apply foliar applications of Neem Oil, PyGanic, or Spinosad for insect and disease control during the growing season.

Everyone makes mistakes - it’s part of the learning process! Whether you’re in the prevention stage or seeking answers for why your bare root rose isn’t thriving, this guide will help you do all the right things to ensure you have a healthy, blooming rose in your garden!
Photos By: Jill Carmel Photography
This post may contain affiliate links. I make a small commission if you purchase a product from the link. I only recommend products I love and use in hopes they will help you too!