HOW TO SHAPE PRUNE ROSES IN THE FALL
Happy Spooky Week! As October comes to a close, it's time to wrap up our fall clean-up series. Now that we've tackled insect and disease care, let's explore the final step in a good fall clean-up - the essentials of fall shape pruning and tidying up your rose beds. This last stage will ensure your roses are primed for a winter nap and a successful spring!
With the late fall and winter months approaching, we know that wind, rain, and stormy weather are just around the corner. High winds can wreak havoc on our roses, causing their canes to snap or thrash together. If your rose plants are top-heavy, they might even act like sails, uprooting themselves from the ground if you have loose soil! Thrashing canes also leads to rose thorns creating wounds on their neighboring canes. These wounds are the ideal entry point for diseases to make their way into a rose. To prevent this, it's crucial to trim up your rose plants in the fall in all growing zones. (Yes, even in warm climate zones like 9 & 10!)
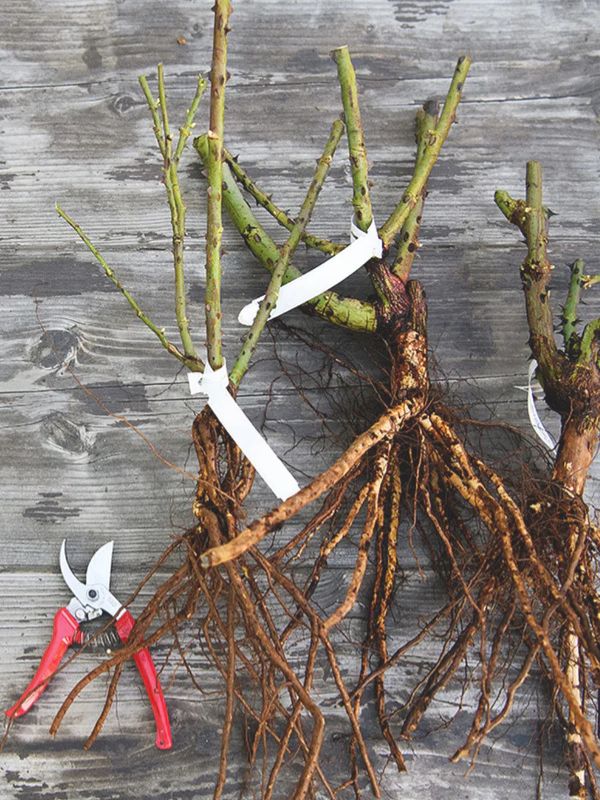
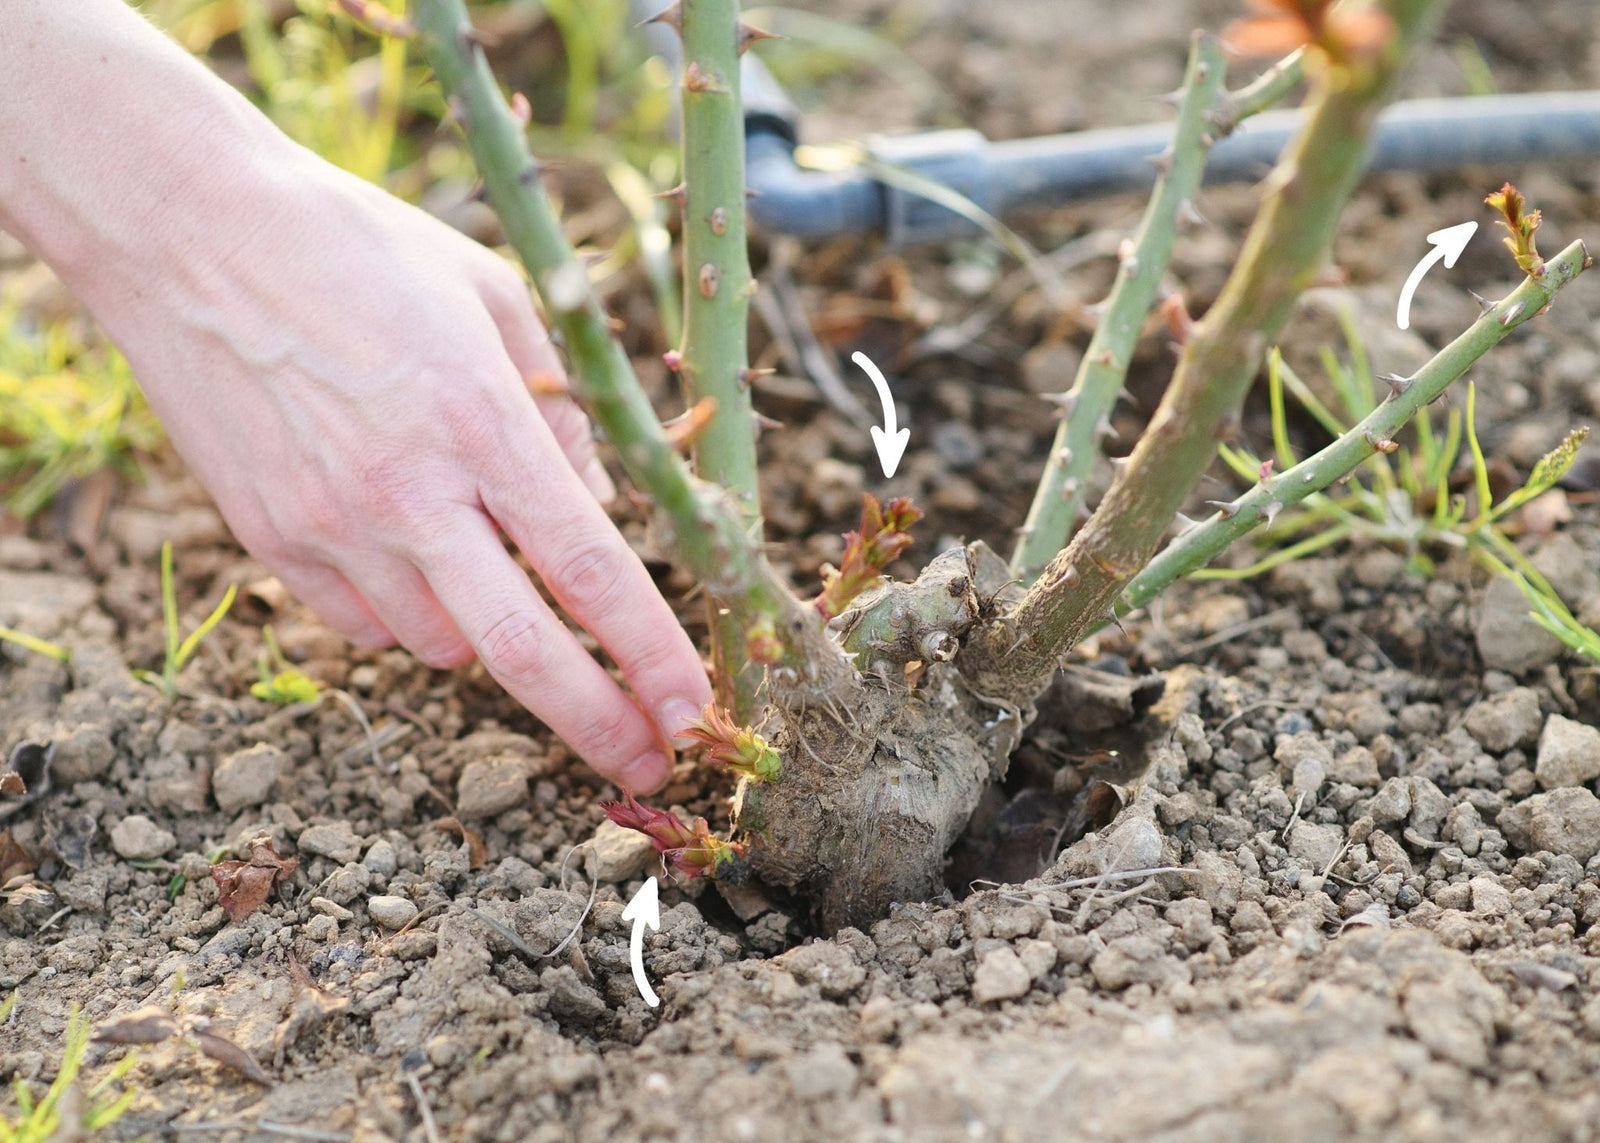
I received a great question from one of our subscribers last week in our Q&A about fall pruning, and I thought it would be perfect to address it again in case you're wondering whether you should be pruning too. Not all roses need shape pruning, but it's especially beneficial for those tall hybrid teas or wild English shrubs that can grow seven to eight feet high. A good rule of thumb is to trim them down to a height that's between your waist and shoulders or roughly about 1/3 of the length of the towering cane. This not only helps prevent cane breakage and keeps the plants looking tidy and manageable but also helps make it easier for cool climate growers to perform winterization prep on their roses.
I often get the follow-up question: “But Felicia, how many inches should I cut off? How many canes should I trim? Your instructions seem vague!” The truth is, you shouldn't focus too much on a precise measurement - my instructions are vague for a reason.
Shaping is more of an art than a science. It involves removing what is too tall and tidying up the unruly canes that have emerged throughout the season. This trimming will be slightly different for each plant you are sculpting.
Trust your instincts as a gardener; if a cane looks tall enough to risk damage in winter conditions, trim it down! It won't harm the plant, and in fact, it will promote its health in the long run. You can check out a
video of me on Instagram, where I demonstrated a quick shape pruning session in our field last week.
After you've pruned, don't forget the importance of cleaning up your beds!
Clear away all leaves and plant material around the base of the rose. This step is vital in preventing diseases and insects from overwintering on your roses. Leaving debris or leaves around can create a cozy little home for pests & diseases, and we definitely don't want that. I like using my
trusty leaf blower and a
good rake to make clean-up a breeze. Make sure to dispose of any debris in the trash rather than composting it. This fall bed clean-up will help reduce disease pressure and insect hiding spots, giving your roses a healthy start for the spring season.
For those of you living in colder areas (zones 3-7), it's also time to think about winter protection for your roses! Be sure to check out my article in the
Menagerie Help Center for tips on when to protect your roses and some different methods for keeping them safe and warm while they take their winter rest. Stock up on my favorite must-have materials for winter protection now -
chicken wire,
twine,
compost, and
frost cloths - so you're ready when the cold and snow roll in. Your roses will thank you for your forethought!
I hope these tips inspire you to get out there and tackle your fall clean-up!
This week, take 30-40 minutes to assess and shape prune your roses. While you're at it, clear away any dead leaves & debris from your garden beds and apply your fall insect & disease care. (If you missed the previous issues on fall insect and disease care,
click here to read.)
Remember, a little effort now will pay off immensely when your roses are healthier next spring. I look forward to sharing more tips with you next week as we start our monthly series on Holiday Prep!
HAPPY GROWING,
THE LIST: THINGS I'M LOVING THIS WEEK
- I am gearing up to PLANT my pre-cooled tulip bulbs next month and my team was doing inventory this week making sure we are all stocked up on my favorite planting supplies.
- Last weekend, I took a few photographs of the new additions to the Menagerie Holiday Wreath Collection. While I was snapping shots, one of the six prototypes I initially discarded, caught the eye of my youngest son, who insisted we take a photo of it too. I shared it on Instagram, and the response was overwhelming—I received 30 messages in my DMs expressing how much people loved it! I must admit, he was right; it has become our best-selling wreath so far this year. So, without further ado, I'm excited to INTRODUCE the new wreath that almost didn't make it: The Menagerie Magnolia. Are you a fan of magnolia?
- This week, we had a professional photoshoot at the farm too with one of my FAVORITE photographers, Jill Carmel. She's been photographing our family since my oldest was born. We just adore her! I found this beautiful blouse at Target for the shoot (I got the green one!) that looks far more expensive than it actually is—ideal for Thanksgiving dinner or holiday parties. It's on sale today too!
- Sunday is my SELF CARE day and I have a little face care routine I do in the afternoons while I sit in my cozy chair make a weekly meal plan. This face mask is a lifesaver and brings my tired farmer skin back to life. It's on the pricy side but after I use it every week, I feel like I've had a $300 facial & one jar lasts 6 months!
- I'm in peak fall COZY mode and went all in this weekend watching my favorite romantic fall movies You've Got Mail & When Harry Met Sally. Just like a good book, I find such comfort in revisiting movies that I love year after year. What are your favorite fall picks?
Q & A: YOUR QUESTIONS ANSWERED
Q: What is the best way to cover in ground roses during hard freezes?
Kristie from Houston, Texas - Zone 9b
A: Hey there, Kristie! To protect in-ground roses, especially in warmer regions like most of California and Texas, you can use a combination of methods to safeguard the plants on the rare occasions there is a hard freeze. My farm is also located in zone 9b and in the last 10 years I haven't needed to do any hard freeze protection in my cut flower rose production field. While frost advisories and freeze watches are typical in the winter, hard freeze warnings are a rare occurrence.
Before taking steps to protect your roses, it's crucial to determine when such protection is truly necessary. For instance, frost advisories, freeze warnings, and freeze watches usually do not require any protective measures for roses. (I have a helpful article in the
Menagerie Help Center that outlines the various types of cold warnings and their impact on roses.) Your question specifically addresses "hard freezes," which the National Weather Service (NWS) defines as periods when temperatures are expected to drop below 28°F for an extended duration. I will focus on options for protecting roses specifically during these "hard freezes," as the other types of freezes and frosts do not necessitate protective actions.
Step 1: In fall or early winter, avoid heavy pruning, as this encourages new growth that is more vulnerable to freezing. Lightly shape prune any damaged, tall or weak canes, but leave most of the structure intact for added cold resistance. (See my featured message up top for more info on fall shape pruning.)
Step 2: Water throughly before freezing as moist soil holds heat better than dry soil. Watering your roses thoroughly before a freeze can help maintain warmer soil temperatures and reduce the impact of cold air on the roots.
Step 3: Mound soil or mulch around the base of the rose as soon as you expect temperatures and conditions will be there for a hard freeze. Pile a mound of soil, compost, or mulch (about 8-12 inches high) around the base of each rose bush. This insulates the root zone and protects the graft union (if the rose is grafted). Make sure the mulch or soil is loose, not packed, to allow for some airflow.
Step 4: For added protection after mounding soil, consider wrapping the canes with a layer of materials such as
burlap,
frost cloth, or
horticultural fleece. Secure the wrapping around the plants using stakes or twine to shield the canes from frost damage and drying winds. While blanket-style coverings provide good protection, I personally prefer a
zip-up drawstring frost cover. This option allows for quick and easy wrapping around your plants, and they can be effortlessly removed once the freeze has passed—no need for additional stakes or securing. Avoid using plastic as a cover, as it can trap moisture and lead to rot.
Step 5: Once the threat of freeze has passed, gradually remove the protective materials to allow the roses to acclimate naturally to the warming temperatures. The cover does not need to stay on all winter long in mild climates like zone 9b. It's best to remove when the hard freeze has passed. Do not leave the covers on all winter.
Since your roses are in Texas, while you might not face the more extreme winter conditions like growers in zones 7-3, these techniques can help safeguard your roses, in the case of an unexpected hard freeze.
JOIN THE FUN!
Want this delivered directly to your inbox each week? CLICK HERE to subscribe to my new weekly newsletter, Growing Wonder, for
simple tips on thriving roses, gardens, and homes! Each week, subscribers can
submit questions for me to answer, and if yours is selected for our Q&A feature, you'll win a
$25 digital gift card to the Menagerie Shop!
Photos by: Jill Carmel Photography
This post may contain affiliate links. I make a small commission if you purchase a product from the link. I only recommend products I love and use in hopes they will help you too!


