Whether you’re a gardening enthusiast, a curious beginner, or a devoted rose lover, this guide will walk you through everything you need to know about planting a bare root rose in a pot, from selecting the right tools to ensuring your rose thrives.

WHY PLANT BARE ROOT ROSES IN POTS?
Roses have always been associated with beauty, elegance, and timeless charm. The good news? You don’t need a sprawling garden to enjoy their magic! With the right guidance, you can grow stunning roses in pots, even if you're a beginner or short on space. Pots are not only practical but also incredibly versatile, making them perfect for balconies, patios, or experimenting with rose varieties.
All roses can thrive in pots with a bit of care—and the benefits are many! Here’s why planting in containers might just be your next favorite gardening adventure:
Flexibility: Not sure if a specific spot gets enough sunlight? Pots allow you to test a location’s suitability.
Accessibility for Beginners: Containers make it easy to try out rose gardening without heavy commitment.
Perfect for Small Spaces: If you live in an apartment, condo, or rental, pots are ideal for cultivating a small yet gorgeous garden on a balcony or patio.
Decorative Charm: Potted roses can enhance your outdoor space with their rich colors and fragrance.
WHEN TO PLANT YOUR BARE ROOT ROSE
Bare root roses are planted during their dormant season. Here's a quick guide to my recommended planting windows by growing zone:
Zones 9–13: January–February
Zone 8: Mid to late February
Zone 7: Early to mid March
Zone 6: Mid to late March
Zones 4–5: Early to mid April
Zone 3: Mid-April to early May
Remember to adjust for your local climate and weather conditions. To learn more about choosing when to plant your rose, visit this Help Center article.

GATHER YOUR TOOLS & SUPPLIES
You don’t need an extensive toolkit to get started. Here are the essentials:
Rose Gauntlet Garden Gloves (to protect your hands from thorns)
Spade or trowel
Bypass Clippers (to trim canes and roots)
5-Gallon Bucket (to soak the roots)
Mycorrhizae Fungi (optional but beneficial for root growth)
You can find all of my favorite bare root rose planting supplies on my Shop My Page!
SELECTING THE PERFECT POT OR CONTAINER
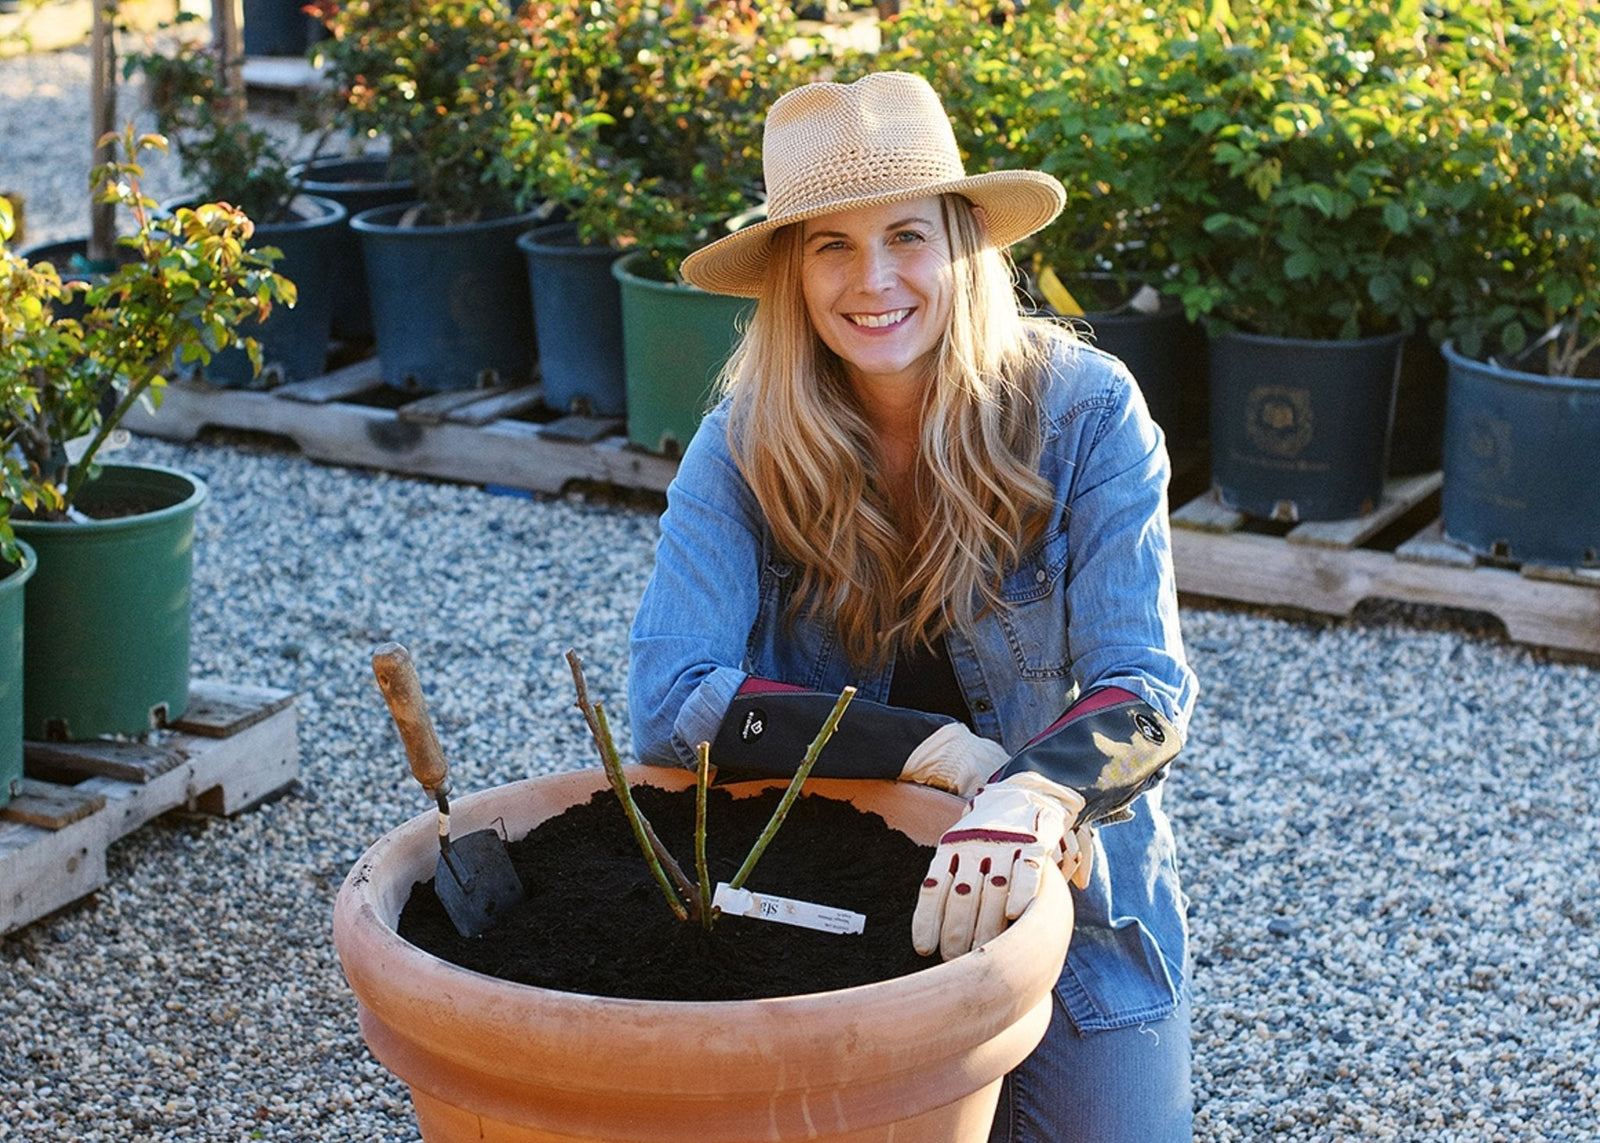
A good pot is the foundation of your rose's success. To choose the right one, start with the size; opt for a pot that’s at least 2 feet wide and 3 feet deep to ensure there’s enough room for the roots to grow. (If you want to start smaller, you can plant your rose in a 5-gallon pot temporarily. Just make sure to wait until the roots are fully established before moving it to its forever home, whether that’s a larger pot or directly into the ground.) Drainage is also crucial, so make sure your pot has holes to prevent waterlogging. If it doesn’t, you can drill three to four ¾-inch holes to allow proper drainage. When it comes to materials, avoid black or dark-colored pots in warm climates as the heat can scorch the roots, and use saucers or risers to keep water from pooling. Lastly, place the pot in a location where it gets at least 6 hours of direct sunlight daily, as sunlight is essential for roses to thrive.

STEP-BY-STEP PLANTING GUIDE
Step 1: Prepare Your Rose
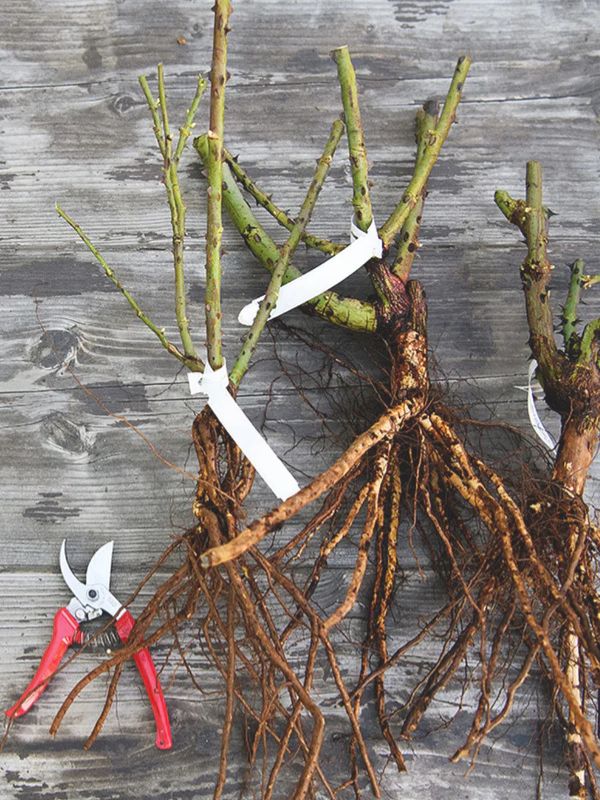
- Remove the rose from its plastic bag or temporary storage.
- Trim any broken canes or damaged roots, cutting ¼ inch above a bud.
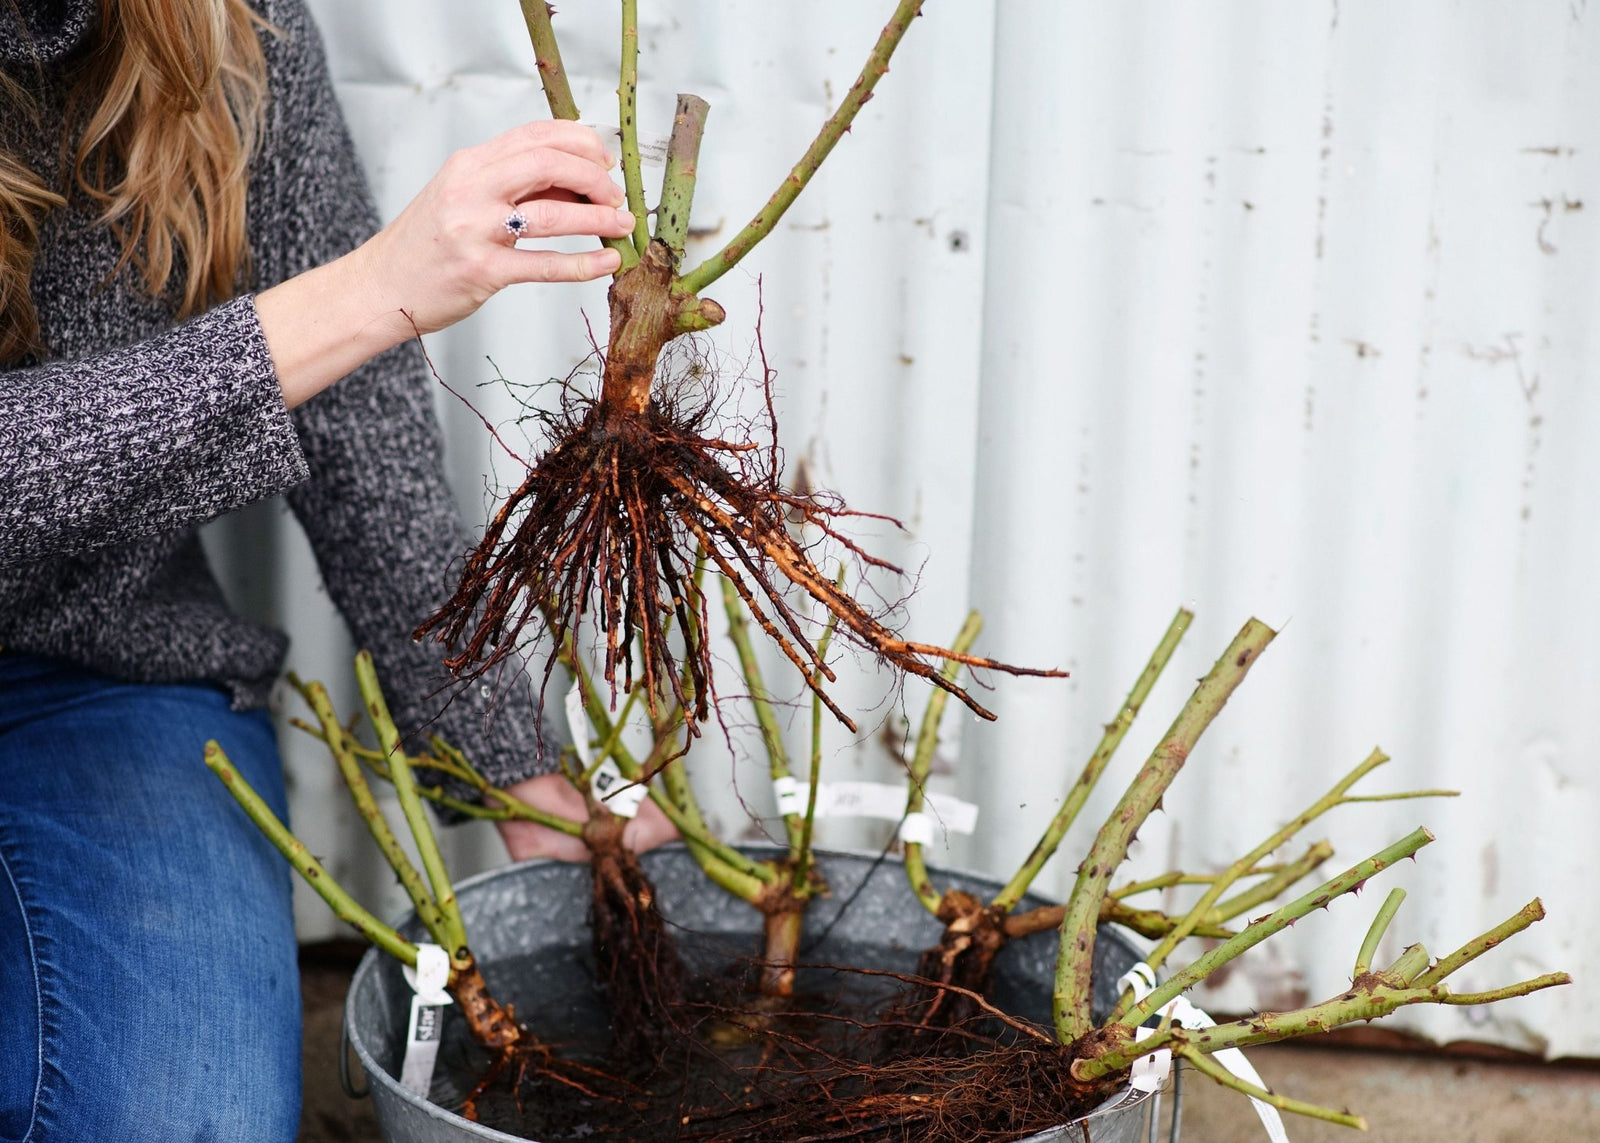
- Soak the roots in a bucket of water for 12–24 hours. This rehydrates the rose and gets it ready for planting. (If you are not able to plant within 24 hours, remove the rose from the water bath and store back in the plastic bag.)
- To learn more about unboxing and inspecting your rose, check out our Help Center article.
Step 2: Prepare Your Container
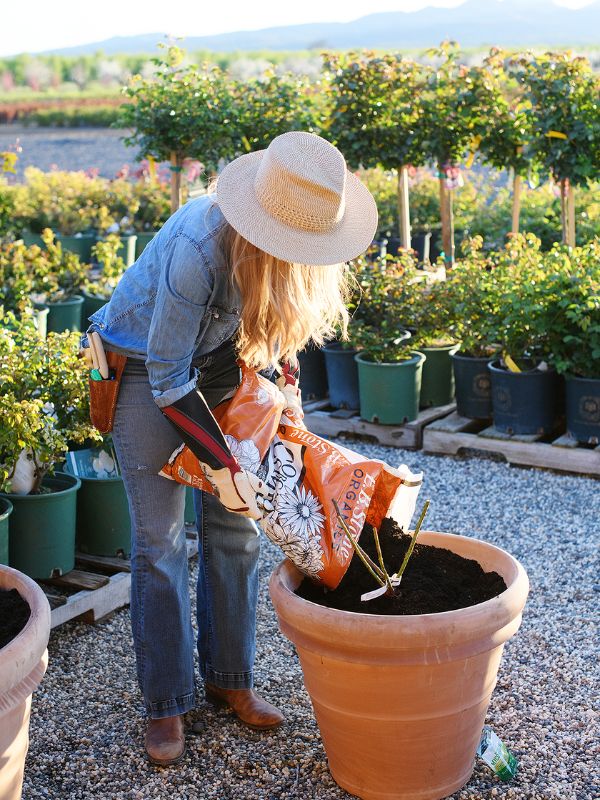
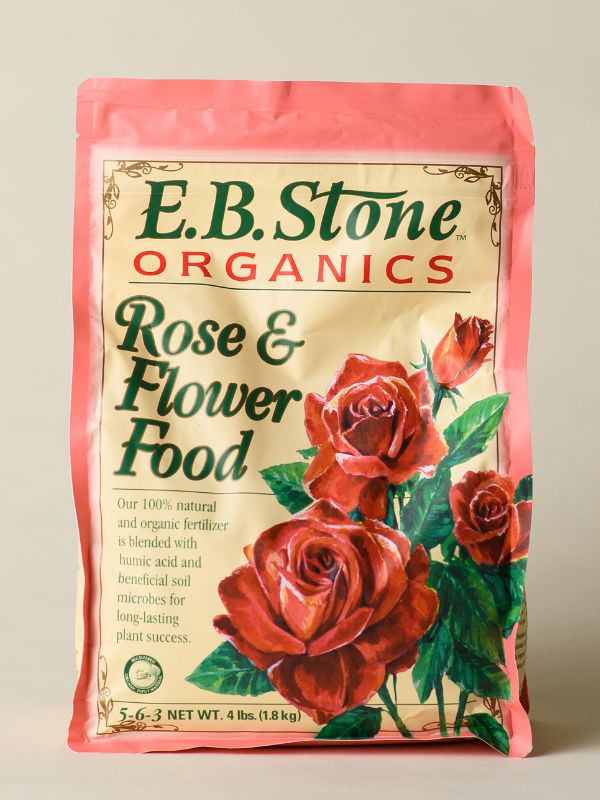
- Fill your pot with a mix of 75% high-quality planting soil or raised bed soil and 25% composttoprovide the perfect balance of nutrients and drainage. My favorites are E.B. Stone Raised Bed & Potting Mix and E.B. Stone Organic Compost.
- Dig a hole in the soil in the center of the container to fit the entire root structure of the rose.
Step 3: Position Your Rose
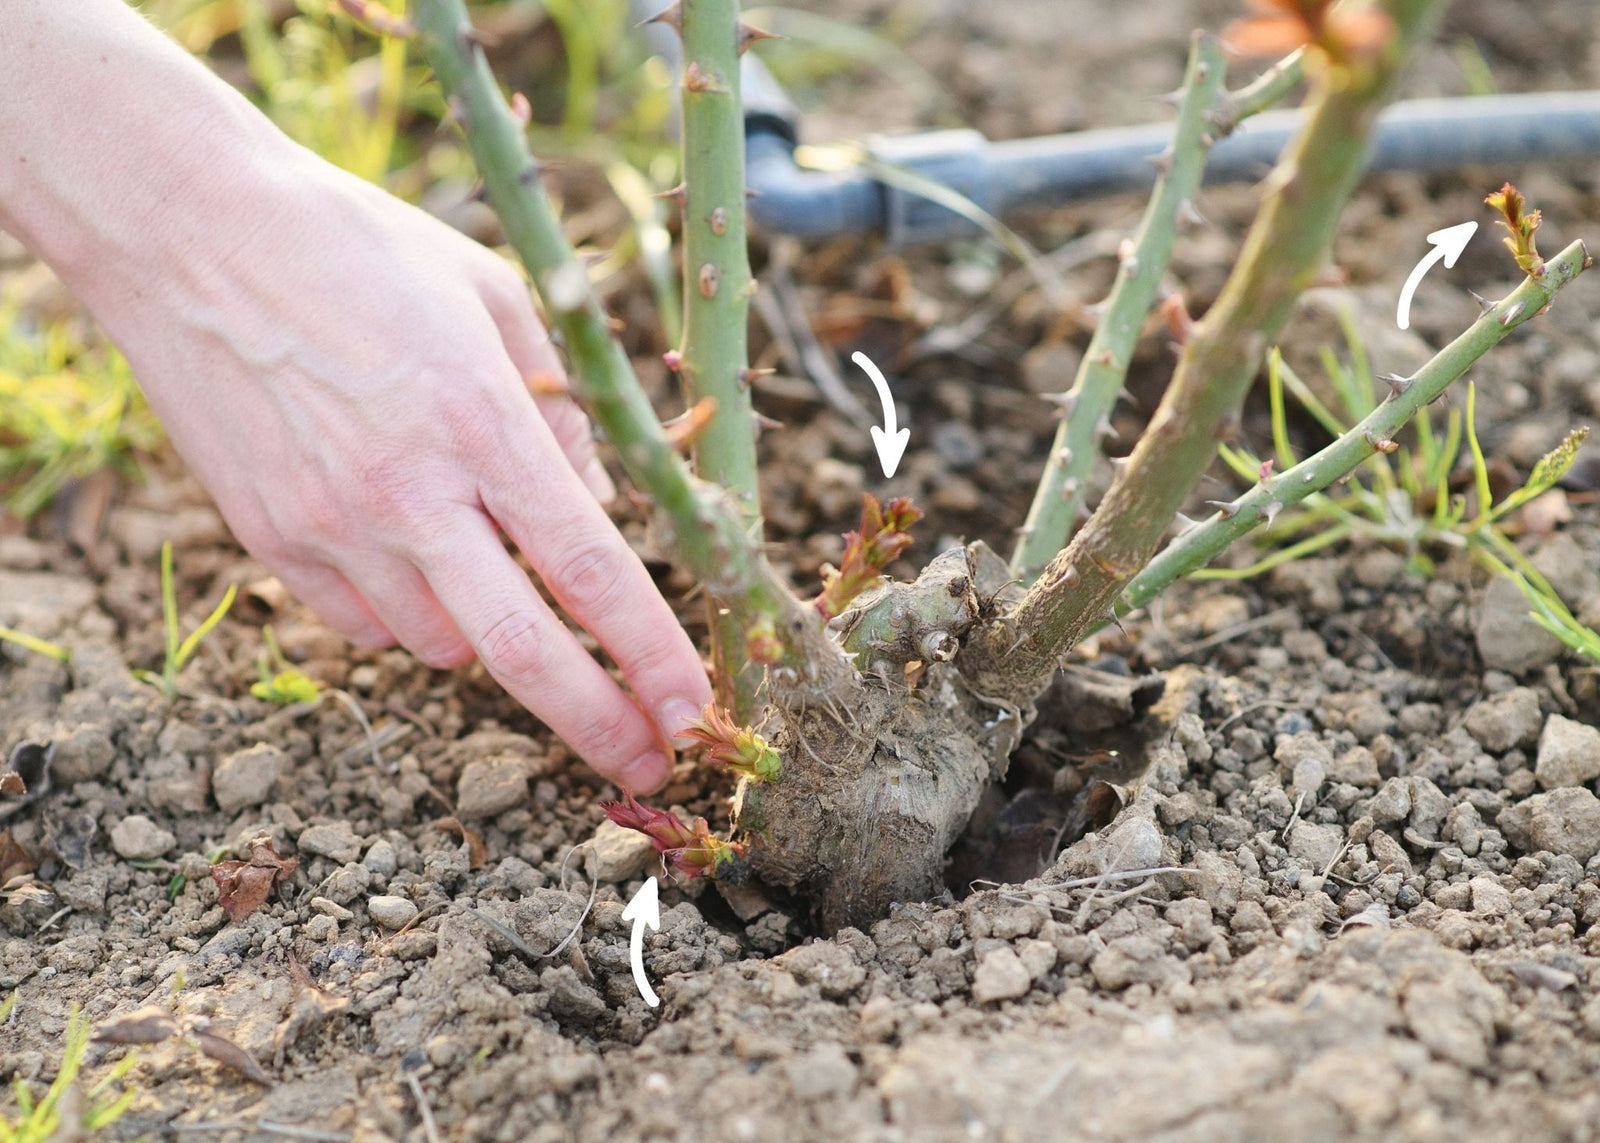
- Place the rose in the hole gently, aligning the base of the canes with the top of the soil line.
- For an extra boost, sprinkle mycorrhizae fungi on the roots before planting. This promotes healthier roots and faster establishment. Consider products like Wildroot Organic Mycorrhizal Fungi Concentrate or Xtreme Gardening Mykos.This step is optional but beneficial!
- Avoid adding synthetic fertilizers or insect control products in the hole, which can harm your rose. DO NOT apply any rose fertilizer until you see your first set of leaves push out.
Step 4: Backfill the Pot
- Use potting mix or soil to backfill around the roots, pressing gently to remove air pockets without compacting the soil.
- Grafted roses: In cold regions, bury the bud union 2–3 inches below the soil.In warm regions, position the bud union 1–2 inches above the soil.
- Own-root roses: Plant so the base of the canes is level with the soil.
- Cover the base of the canes with a mix of compost and mulch. This helps keep the roots cool, maintain soil moisture, and prevent weeds.
Step 5: Water Your Rose Thoroughly
- After planting, water your rose well, and continue to water overhead daily for 1–2 weeks to keep the roots and canes hydrated.
- Once you see buds starting to grow, switch to watering at the base of the plant or use a drip irrigation system.
-
Keep the soil moist but avoid standing water. Roses in pots or beds tend to dry out faster than those planted in native soil, so check moisture levels regularly.

Planting bare root roses in pots is an incredibly rewarding way to grow your gardening skills, enhance your outdoor space, and enjoy the beauty of roses even in smaller spaces. With patience and care, your potted rose will thrive and bring you endless joy.
If you’re ready to give it a try, gather your tools, pick out a variety from our Bare Root Rose Collection, and follow the steps above. Watching your roses bloom, no matter where you live, is a truly magical experience. Happy planting, and may your roses flourish!

