TULIP PLANTING 101
While it may not be a traditional holiday activity, planting
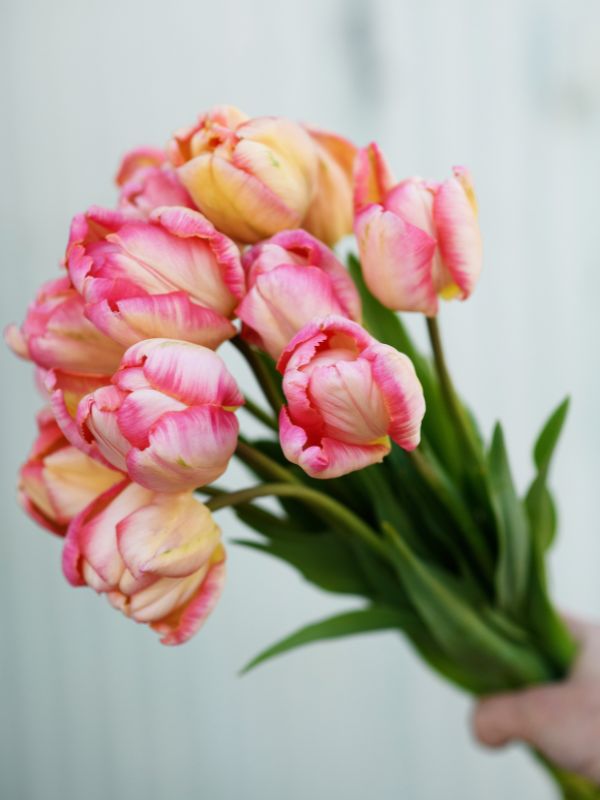
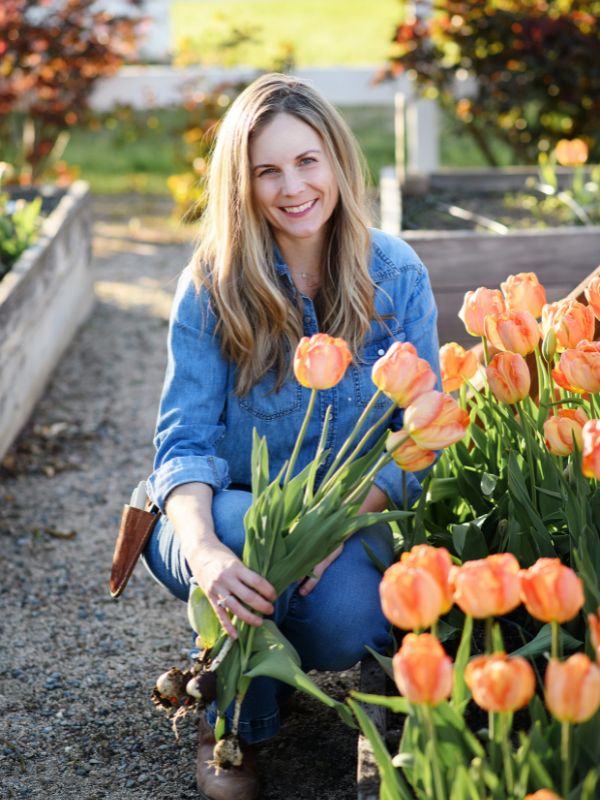
tulip bulbs during Thanksgiving week has become a beloved tradition in my family. It serves as a gift for our future spring selves and a delightful bonding experience with the kids and any visiting relatives. We get everyone involved in the planting process!
I love sending guests home with a planted pot of tulips as a keepsake of their holiday adventures at the farm.
My boys enjoy gathering their supplies and digging into the soil, and their help truly enhances the entire experience. Plus, tulips are among the easiest flowers to grow, making them a perfect choice for even those with a less-than-green thumb.
This week, let's explore Tulip Bulb Planting 101 as part of our November holiday prep!
Growing tulips in warmer climates, like my farm in Zone 9b, can pose challenges.
Tulips require a prolonged period of cold temperatures to bloom effectively, and our mild winters don't naturally provide that. That's why using pre-cooled bulbs is essential. Through years of trial and error, I've fine-tuned our pre-cooling method to ensure each bulb receives the ideal chill. We cool our bulbs in humidity-controlled coolers at 34-45°F for 6 to 12 weeks, which sets them up for success and allows us to enjoy a stunning tulip display without the complications of intricate guides or specialized equipment.
If you're situated in a warmer zone and have struggled with tulip planting in the past, I encourage you to give pre-cooled bulbs a try.
Timing is key when planting tulips! In most zones, aim to plant them by late November or early December, approximately 6-8 weeks before a hard freeze. Here in Zone 9b, Thanksgiving week has become our unofficial target date for planting pre-cooled tulip bulbs, but we sometimes plant as late as the last week of December, depending on other activities and the weather at the farm. If the ground in your area is already frozen, planting in pots is a fantastic alternative. Even with snow on the ground, you can still plant tulips in containers.
Good
drainage is essential, as tulips are prone to basal rot in soggy soil. Ensure that your pots or native soil have proper drainage. For potting, use a well-drained mix such as
E.B. Stone Organics Raised Bed Potting Soil, and steer clear of soil mixes that contain pre-blended fertilizers or moisture control additives.
When you're ready to plant, follow these simple steps:
-
Pick a sunny spot—Tulips thrive with full or partial sun and well-drained soil.
-
Dig holes in your native garden soil or select a pot on container—Go 6-12 inches deep for better drainage in native soil, or try a 3-4 feet wide trench if planting for cut flowers. For container planting choose one—at least 10 inches in diameter and 12 inches deep for better insulation and root development. My native soil is a very hard clay with poor drainage so I prefer planting in pots or bulb crates. You can catch my weekly Tip Tuesday series on Instagram for some video of me planting in a crate container. You can also mix in a little mycorrhizae and fertilizer into your soil if you're feeling fancy.
-
Place bulbs pointed side up—Space them about an inch apart (one finger space) like eggs in a carton, or plant in clusters of 10-20 for a more striking display.
-
Cover and water—Refill with soil and give the bulbs a good drink. Water weekly or bi-weekly, unless it rains.
The hardest part is waiting, especially for the kids, but it's a valuable lesson in patience and anticipation. By spring, your hard work and care during your Thanksgiving break will be rewarded with a stunning tulip display.
This holiday season, try starting a new tradition of planting tulip bulbs with loved ones. It's a joyful way to connect, create memories, and look forward to the beauty that spring will bring.
HAPPY PLANTING,
THE LIST: THINGS I'M LOVING THIS WEEK
- I shared this last week and received such positive feedback that I felt it deserved another mention. For all the planners using Notion, here's my FREE Holiday Planning Template to help you track your gift purchases and expenses. Happy planning!
- As I continue planning my Thanksgiving MEAL, I can't wait to make these Apple Pie Bars again this year. Last year, I substituted them for my traditional apple pie, and everyone agreed: forget the pie, these bars are far superior! I'm excited to include them on my menu again this year.
- I recently returned from a week-long trip to Southern California, where we celebrated my mother-in-law's 75th birthday. I picked up this packable jacket for my trip, and it turned out to be a lifesaver. It's incredibly WARM without being bulky, and I can easily zip it up into the built in pocket storage pouch and toss it in my purse. I loved it so much that I'm considering getting it in another color. It runs big so size down - I got a small in the sour cherry color.
- This weekend, we hung our first holiday WREATH on the front door. My kids played rock-paper-scissors to decide which one to choose since they each had a different favorite. The Menagerie Magnolia won the toss and is now proudly displayed in our entryway. I love the deep brown color contrasted with the glossy green leaves. We finished it off with velvet ribbon, adding a lovely touch of texture.
- Sunday is my SELF CARE day and I am a fan of mixing high $$$$ and low $ skincare into my routine. Every week I do one of these Hyaluronic Acid masks. My skin feels like butter after only 30 minutes. It's under $4 and it makes me look like a human again after a long week!
Q & A: YOUR QUESTIONS ANSWERED
Q: I have established roses that need to be moved. How should I do that and when is the best time to?
Blaine from Cincinnati, Ohio - Zone 5
A: Greetings, Blaine! In Zone 5, where winters are colder, the best time to move established roses is in early spring, just before new growth starts, or in late fall, after the first frost (but before hard freeze) when the plant is dormant. This timing minimizes stress since the plant isn't actively growing, making it easier to handle the roots.
For you in zone 5 that would be late March to early April or late October to early November. A good rule of thumb in any growing zone is to move an established rose at the same time you would be planting bare root roses and doing your yearly dormant pruning.
Here's a step-by-step guide:
- Prepare the New Location: Dig a hole in the new spot that's at least twice as wide and as deep as the rose's root ball. Add some compost to enrich the soil. BONUS STEP: Get a soil test done in your new planting location and use the results to determine how best to prepare the soil prior to transplanting.
- Prune the Rose: Trim back about one-third of the plant to reduce stress on the roots and make it easier to handle.
- Dig Up the Rose: Start digging about 12-15 inches away from the main stem to avoid damaging the roots. Go down as deep as possible to get a good portion of the root ball.
- Replant Quickly: Transfer the rose to its new spot immediately to prevent the roots from drying out. Place it at the same depth it was growing before, backfill with soil, and water thoroughly. You can also plant it in a pot if you need to move it to a new permanent location at a later time.
- Aftercare: Water the rose well after transplanting and keep an eye on it through the winter. Applying a layer of mulch around the base can help retain moisture and protect roots.
The key is timing the transplanting around dormancy and minimizing root disturbance so you rose will thrive in its new location!
JOIN THE FUN!
Want this delivered directly to your inbox each week? CLICK HERE to subscribe to my new weekly newsletter, Growing Wonder, for
simple tips on thriving roses, gardens, and homes! Each week, subscribers can
submit questions for me to answer, and if yours is selected for our Q&A feature, you'll win a
$25 digital gift card to the Menagerie Shop!
Photos by: Jill Carmel Photography
This post may contain affiliate links. I make a small commission if you purchase a product from the link. I only recommend products I love and use in hopes they will help you too!


