


The Perfect Soil For Roses
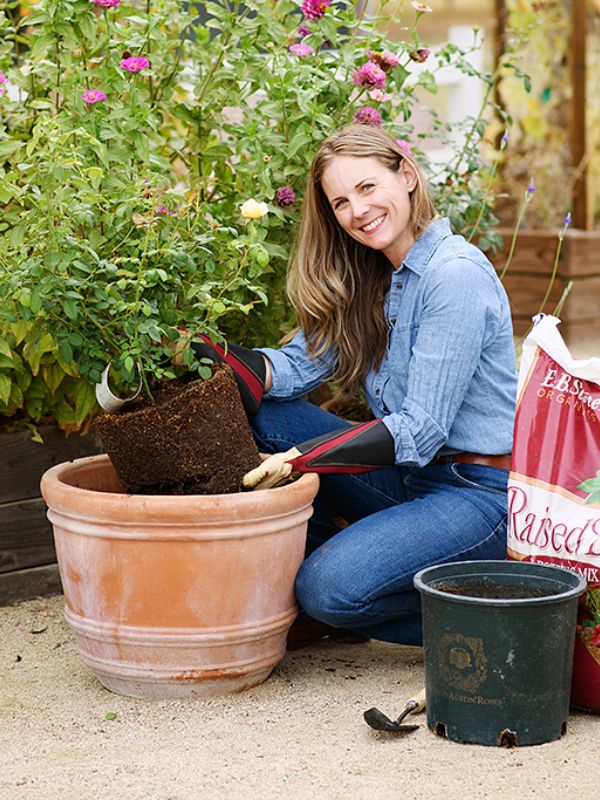
Can you believe this is the final week of our first-year bare root rose care series? I hope checking in this month has given you the confidence to get your first year bare root roses off to a great start! To finish strong, we're talking about one of the most crucial (and often overlooked) steps in growing thriving roses—getting a soil test. If you've been around Menagerie for a while, you've probably heard me say this before, but the foundation of healthy, happy roses starts with understanding your soil. I do soil testing in multiple locations on the farm at least once yearly and more often if I am trying to correct a problem in a specific area of our production field.
Think of a soil test as the ultimate insider's guide to your garden health. Whether you're a seasoned flower farmer or just getting started with a backyard rose garden, a soil test provides invaluable insights like understanding your soil's nutritional needs, composition and how to improve it. The goal? Set your roses up for success by giving them exactly what they need to flourish in your environment. And don't worry—if you've already planted your roses, it's never too late to perform a soil test! It takes the guesswork out of why your roses might not be performing their best and saves you so much time and energy in the long run.
Why Test Your Soil?
Getting to know your soil is the first step toward becoming a rose-growing pro. It's like the old saying goes, “The best defense is a good offense.” Preparing your planting beds—armed with the knowledge of your soil makeup—can help you avoid common pitfalls. A soil test will tell you exactly what nutrients your soil might be lacking, what amendments it needs (if any), and where your efforts will be best spent. Knowing your soil composition (the mix of clay, silt, and sand) also helps you fine-tune your irrigation strategy. Bonus? You might discover that your soil is already perfect and doesn't need any extra attention. A soil test provides clarity and confidence, allowing you to make the best choices for your garden's unique conditions.
When to Test Your Soil
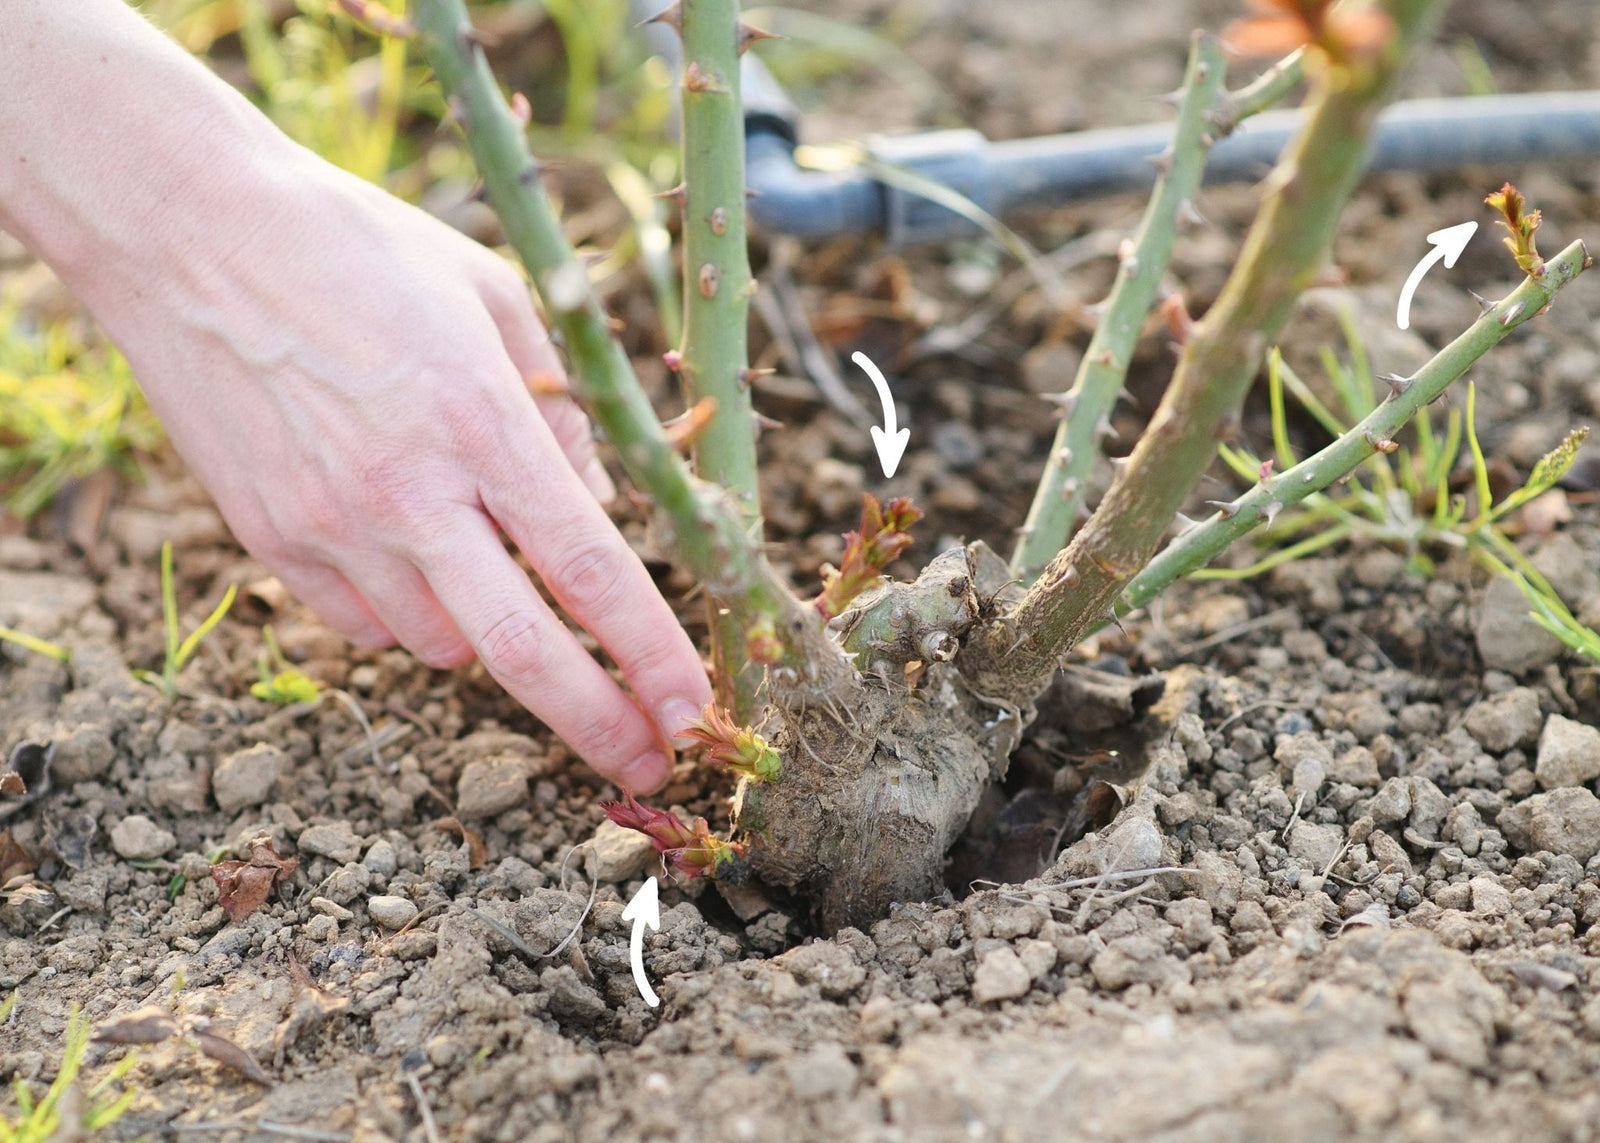
If possible, aim to complete your soil test before planting bare root roses— (for you cold climate growers wait until after your ground has thawed) it's the perfect opportunity to amend the entire planting area ahead of time. But if your roses are already planted, you can still run a test and use the results to top-dress with compost, fertilizer, or other amendments as needed throughout the season.
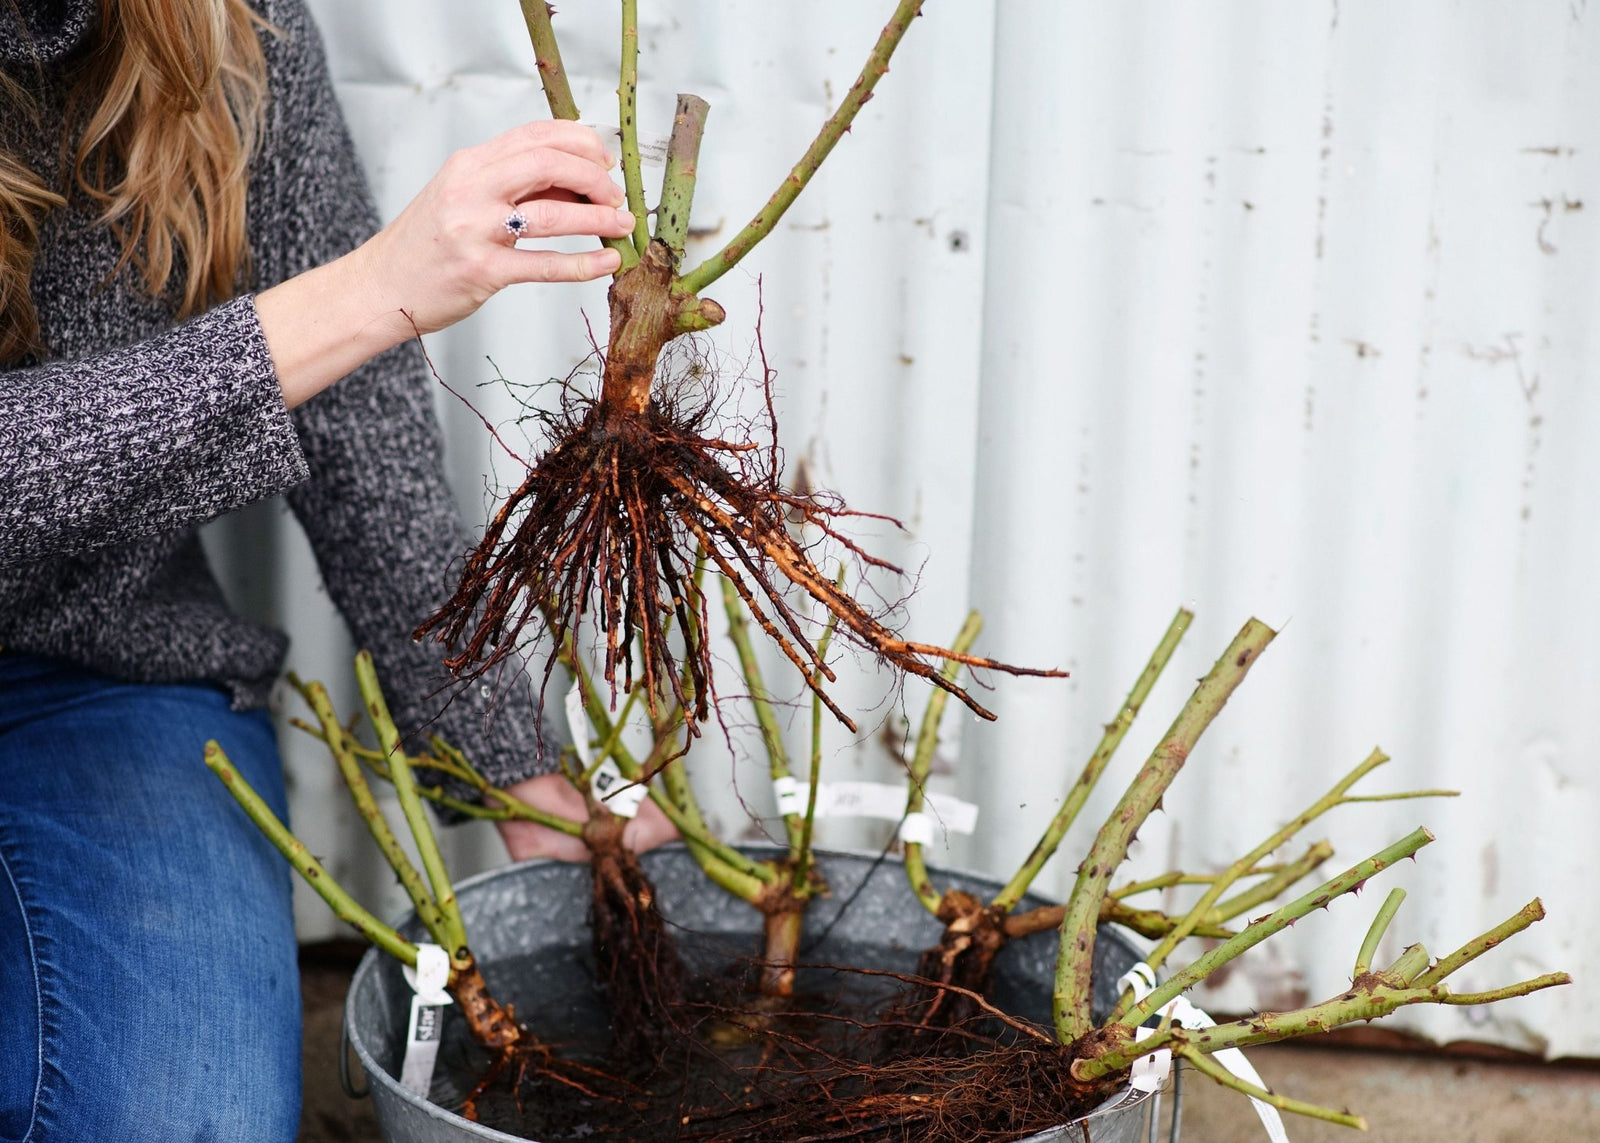
And here's something I always remind my fellow rose enthusiasts—it's okay to start imperfectly. If your bare root roses are arriving soon and you don't have time to amend the soil, don't stress! Plant them directly in native soil and adjust later. Roses are resilient, and I've planted many in my garden without any preparation at all. Guess what? They survived! The most important thing is getting them in the ground. Don't delay and risk losing them to mold or drying out. You can always tweak and improve your soil care as you go.
How to Test Your Soil
Testing your soil doesn't have to be a complicated process. My favorite solution is using Soil Kit—it's so easy and efficient! You can pick it up on our website, through Amazon, or look for it at your local nursery. Here's what makes this brand of test so simple:
- Measure your sample area.
- Collect your soil sample from your planting area.
- Register your test online.
- Mail it back in the prepaid envelope.
Within just a few days, you'll have your raw data results and a detailed report with personalized recommendations for fertilizers or amendments to apply to correct your soil. This means you don't need to go searching online wondering what you need to apply. The Soil Kit results test gives you all of that information right in the finished report.
You can also consider reaching out to your local agricultural extension office, master gardeners, or a nearby university with an agricultural department to inquire about free soil testing services. While these tests typically provide raw data rather than specific treatment recommendations, they can be an excellent starting point too for understanding your soil's condition.
What Happens Next?
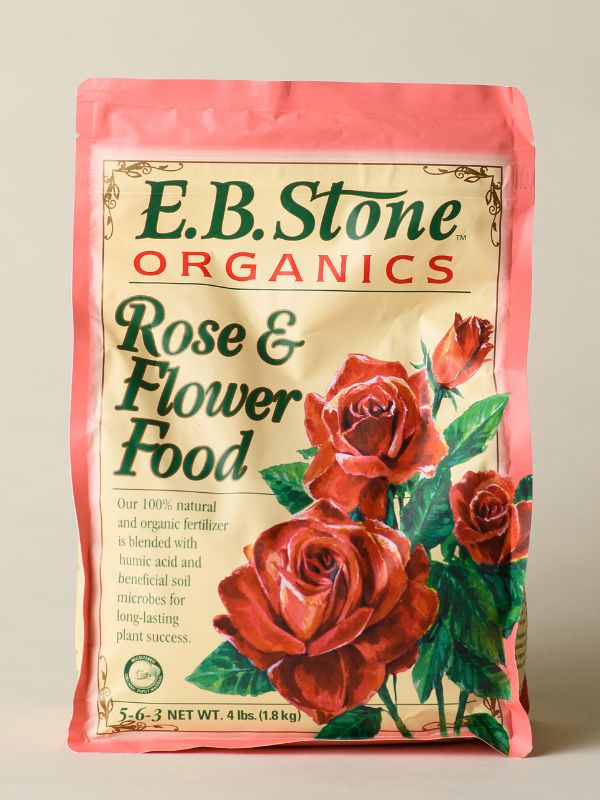
If your test results show that your soil is great—celebrate! You might not need to add a thing. And if it feels strange not to do anything, remember the motto, “If it ain't broke, don't fix it.” But if the results suggest adding organic matter, fertilizer, or amendments, you can integrate those into your soil preparation or top-dress the area if you've already planted. (If you missed my newsletter on fertilizing bare root roses earlier this month, check it out here!)
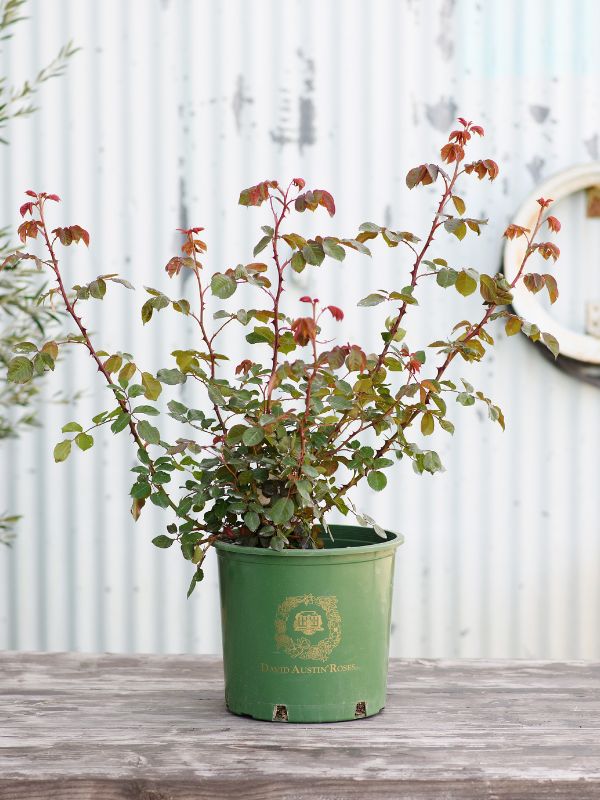
If your soil test shows less-than-ideal conditions where you planned to plant, don't get discouraged. Options like raised beds or containers with high-quality potting soil mixes can provide excellent alternatives if you decide you no longer want to plant in your native soil. The beauty of gardening is that there's always a solution—sometimes you just have to be flexible!
This week's action step: carve out some time to get a soil test if you haven't already. It's the perfect way to wrap up our first year bare root rose care tasks and empower yourself with knowledge that can truly transform your garden.
Get ready, because next week we're diving into a brand-new theme for April—Spring Rose Care. Think fresh blooms, vibrant growth, and all the tips you need to get your roses to their first beautiful blooms of the season. Happy growing, friends—I'm cheering you on every step of the way! Let's make this your garden's best season yet!
THE LIST: THINGS I'M LOVING THIS WEEK
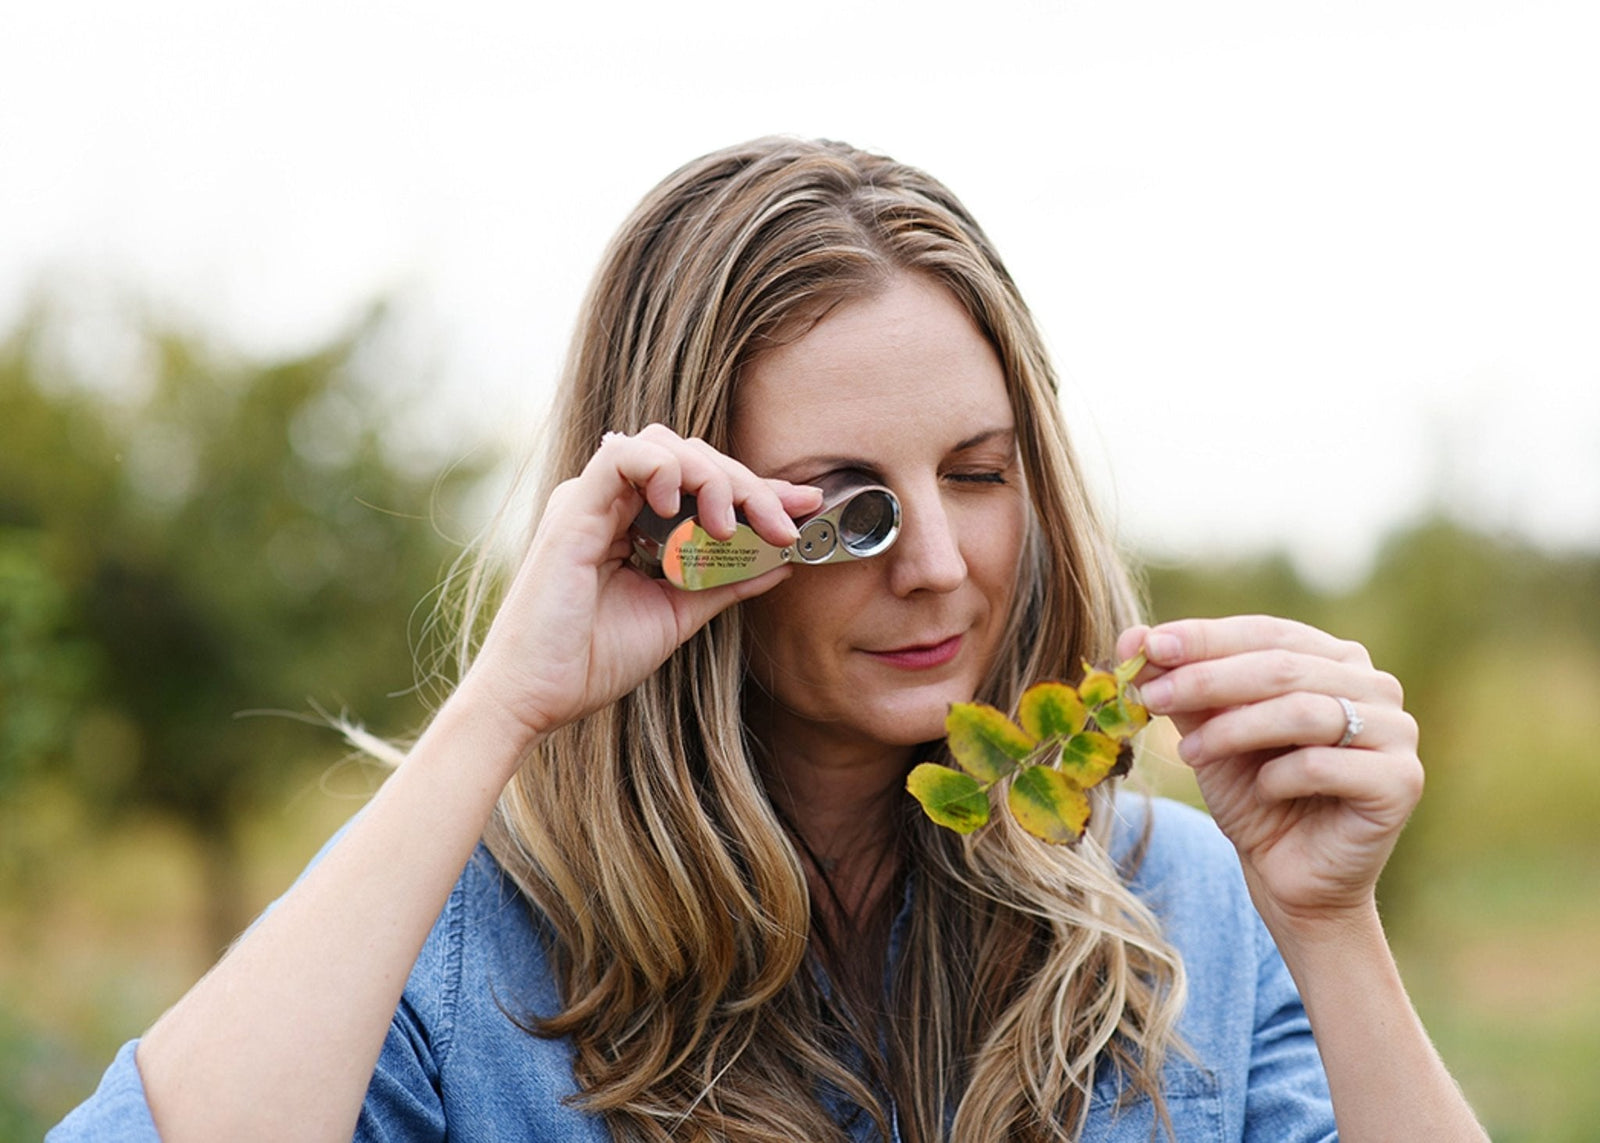
- Please wear your SUN protection! This past week had my dermatology exam with my doctor, who happens to be an avid gardener and rose lover—that's actually how I met her at my nursery while she was picking up a rose order. She found a very early basal cell carcinoma in the middle of my chest. Thankfully, treatment should be easy and non-invasive since it was caught early. If you've followed my story over the years or read my book, you know this topic is deeply personal for me, as my mother passed away from melanoma at just 49 years old. That's why I'm such an avid daily sunblock wearer and why you'll never see me outside without a hat. Consider this my heartfelt reminder, especially to fellow flower farmers and gardeners: schedule your annual dermatology skin check. If you've never had one, now is the time to start. I promise it is simple and the most non-invasive of all the exams we get older we do. Wear sunblock and sun protection daily—yes, even in winter—and remember to reapply throughout the day. Here are my favorite sun protection items. This is one area where I never skimp.
- I know, I know—another week, another new shirt recommendation from me! I've been slowly cleaning out my closet for a few hours every Saturday these past few weeks, so I'm replenishing with some new items. This LINEN shirt looks way more expensive than it is. Think Frank & Eileen or Tuckernuck but at a fraction of the price tag. I love the blue.
- I loved this BOOT rack so much that I got another one for our front door entryway. (I have one in my office by our backdoor.) While there's really no chic way to display kids' muddy shoes after they've been romping around the farm, this rack is both functional and relatively attractive for storing work boots and rain boots.
- Another FUN little item I'm adding to my kids' Easter baskets. Who doesn't love a Magic 8 Ball!
- I shared this book on Pesticide Use & Handling on Instagram for my TIP TUESDAY last week and received such great feedback that I wanted to share it here too. It's the definitive guide for creating a comprehensive pest and disease control program for your garden. A heads up—it's as dense as a college textbook, not a light beach read. But once you've finished it, you'll feel like a plant doctor ready to tackle any pest challenge!
CHEERS,


JOIN THE FUN!
Want this delivered directly to your inbox each week? CLICK HERE to subscribe to my new weekly newsletter, Growing Wonder, for simple tips on thriving roses, gardens, and homes! Each week, subscribers can submit questions for me to answer, and if yours is selected for our Q&A feature, you'll win a $25 digital gift card to the Menagerie Shop!
You can also find me on Instagram for more rose garden inspiration and exclusive behind-the-scenes moments. You can check out my favorite rose varieties and browse garden supplies at the Menagerie Shop! I also have all of things I love for my home, garden and life in easy to find collections on my Amazon Storefront and my new ShopMy Page.
Photos by: Jill Carmel Photography
This post may contain affiliate links. I make a small commission if you purchase a product from the link. I only recommend products I love and use in hopes they will help you too!