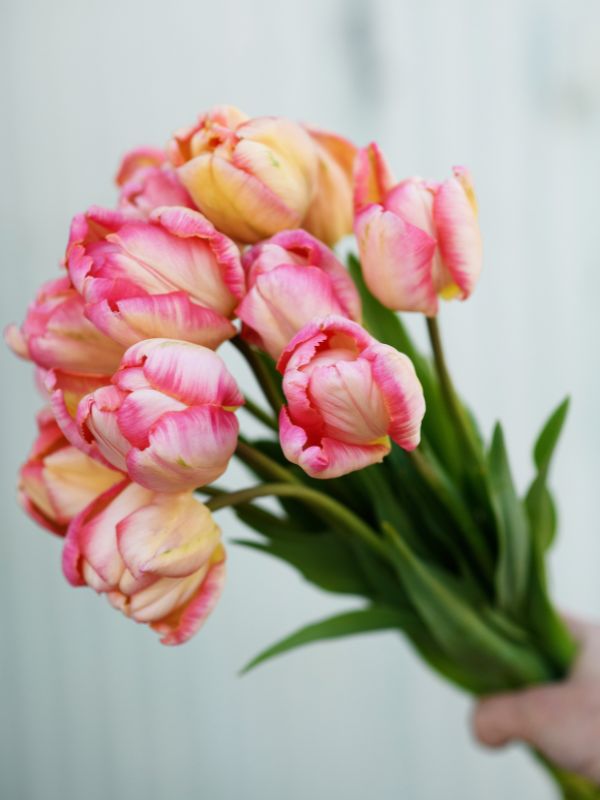
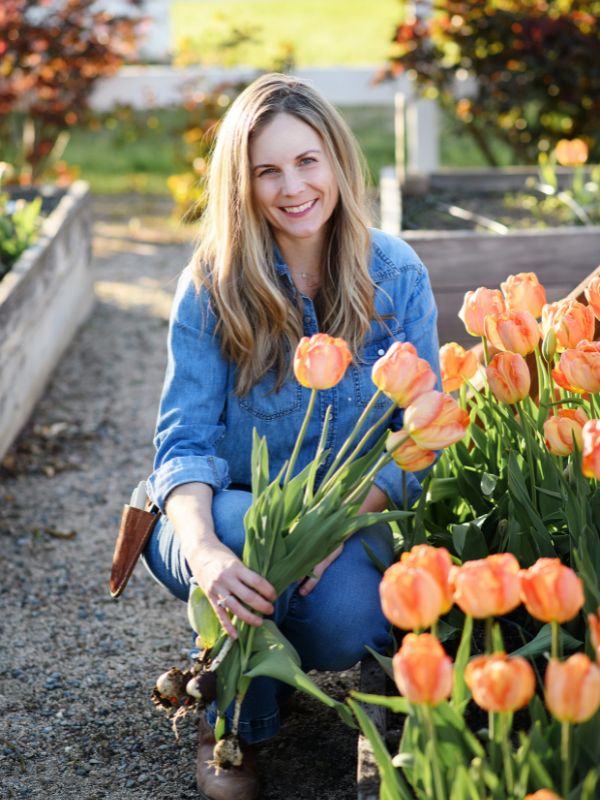
Looking to grow tulips but don't have enough space or are dealing with frozen ground? No problem! Planting tulip bulbs in a pot or container is a great solution. Check out our blog post to learn the best tips and techniques for successfully growing tulips in pots or containers. From selecting the right soil to nurturing your tulips, we've got you covered. Get ready to welcome a colorful burst of tulips right to your doorstep!

CAN I PLANT TULIP BULBS IN A POT OR CONTAINER?
Absolutely! Tulip bulbs will thrive just as well in pots and containers as they do in the ground. This is especially useful for gardeners who lack outdoor space or waited to plant their bulbs until after their ground froze for the season. Container gardening is also a perfect choice for those in apartments, condos, rentals, or other locations. Even without a yard, you can still relish the beauty of tulips adorning your balcony or patio!
HOW DO I CHOOSE MY POT OR CONTAINER?
Tulips will perform best if planted in a spacious pot or container. Aim for a minimum diameter of 18" and a height of at least 15". Using a smaller pot for planting bulbs may hinder their growth due to limited space and restricted root development. It is important to provide bulbs with adequate room to spread their roots and access the necessary nutrients and moisture to thrive and reach their full potential. For pots left outside during winter, opt for an even bigger container, at least 24" in diameter, to protect the bulbs from freezing.
Remember, good drainage is key! For optimal growth and health, make sure that your container has adequate holes to allow proper water drainage. This is especially crucial when planting tulip bulbs, as they are susceptible to basal rot when sitting in waterlogged soil. By providing a well-drained environment, you can help your tulips thrive and prevent any potential issues caused by excess moisture.
WHAT TYPE OF SOIL SHOULD I USE FOR PLANTING TULIP BULBS?
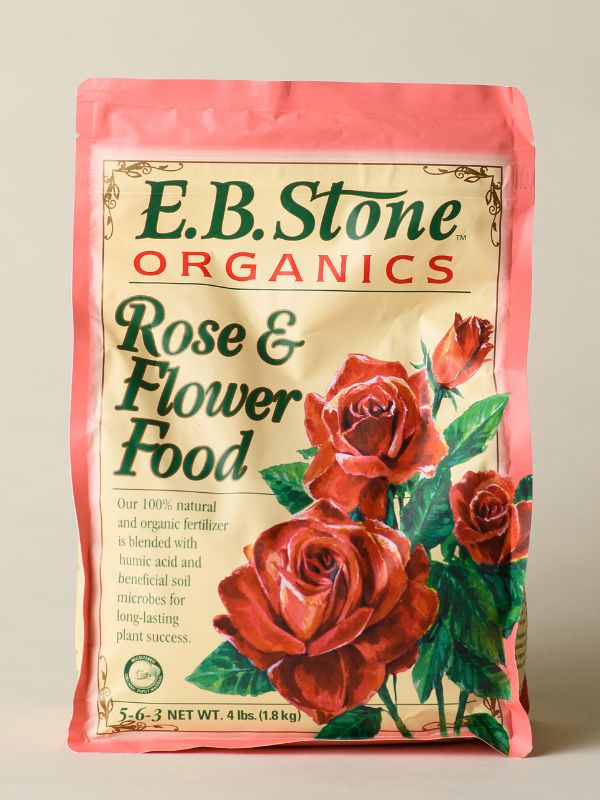
If you're filling a new pot or raised bed, we recommend using a well-drained potting mix. When you visit your local nursery, keep an eye out for mixes labeled "Raised Bed". It's best to steer clear of potting mixes that have fertilizer or peat mixed in and are labeled "moisture control". Our all-time favorite for tulip planting is the E.B. Stone Organics Raised Bed Potting Soil.

WHEN SHOULD I PLANT MY TULIP BULBS IN A POT OR CONTAINER?
Just like you would in your garden, the ideal time to plant tulip bulbs in pots is in the fall. This is because tulips require a period of cold dormancy to ensure proper growth and vibrant blooms in the spring. By planting them in the fall, you give the bulbs enough time to establish strong root systems and prepare for the upcoming blooming season.
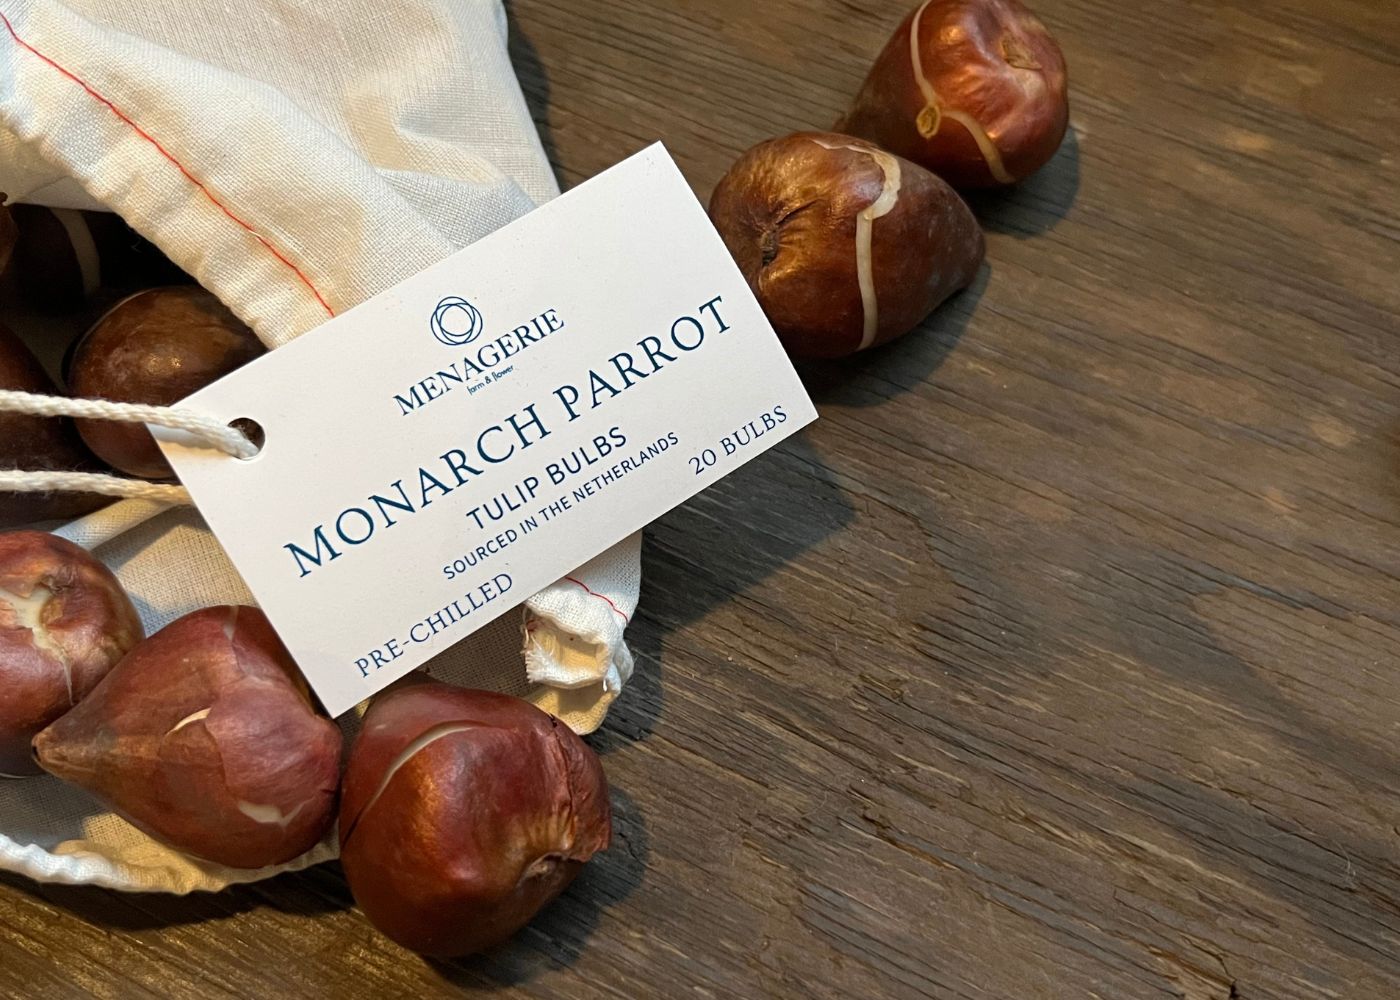
For optimal results, we recommend planting your tulip bulbs in pots in late November or early December for warmer zones 7b-11, and late October to November approximately 6-8 weeks prior a hard ground freeze for colder growing zones 3-7a. (For colder zones if purchasing our pre-cooled bulbs in pots you can plant later in late November to early December just like your warm zone friends because we’ve done the pre-chilling for you!) Our pre-cooled bulbs are sourced from growers in the Netherlands and carefully stored in our coolers at the ideal temperature and humidity for pre-cooling. If you pre-ordered pre-chilled bulbs from our farm, they will arrive at your doorstep, ready to be planted in pots at the perfect time for growers in Zones 7-11!
If you can't get them planted right away, place your bulbs in a cool, dark, well-ventilated location (34-50 degrees F) for an additional few weeks. We recommend planting no later than January 1st.
HOW DO I PLANT MY TULIP BULBS IN A POT OR CONTAINER?
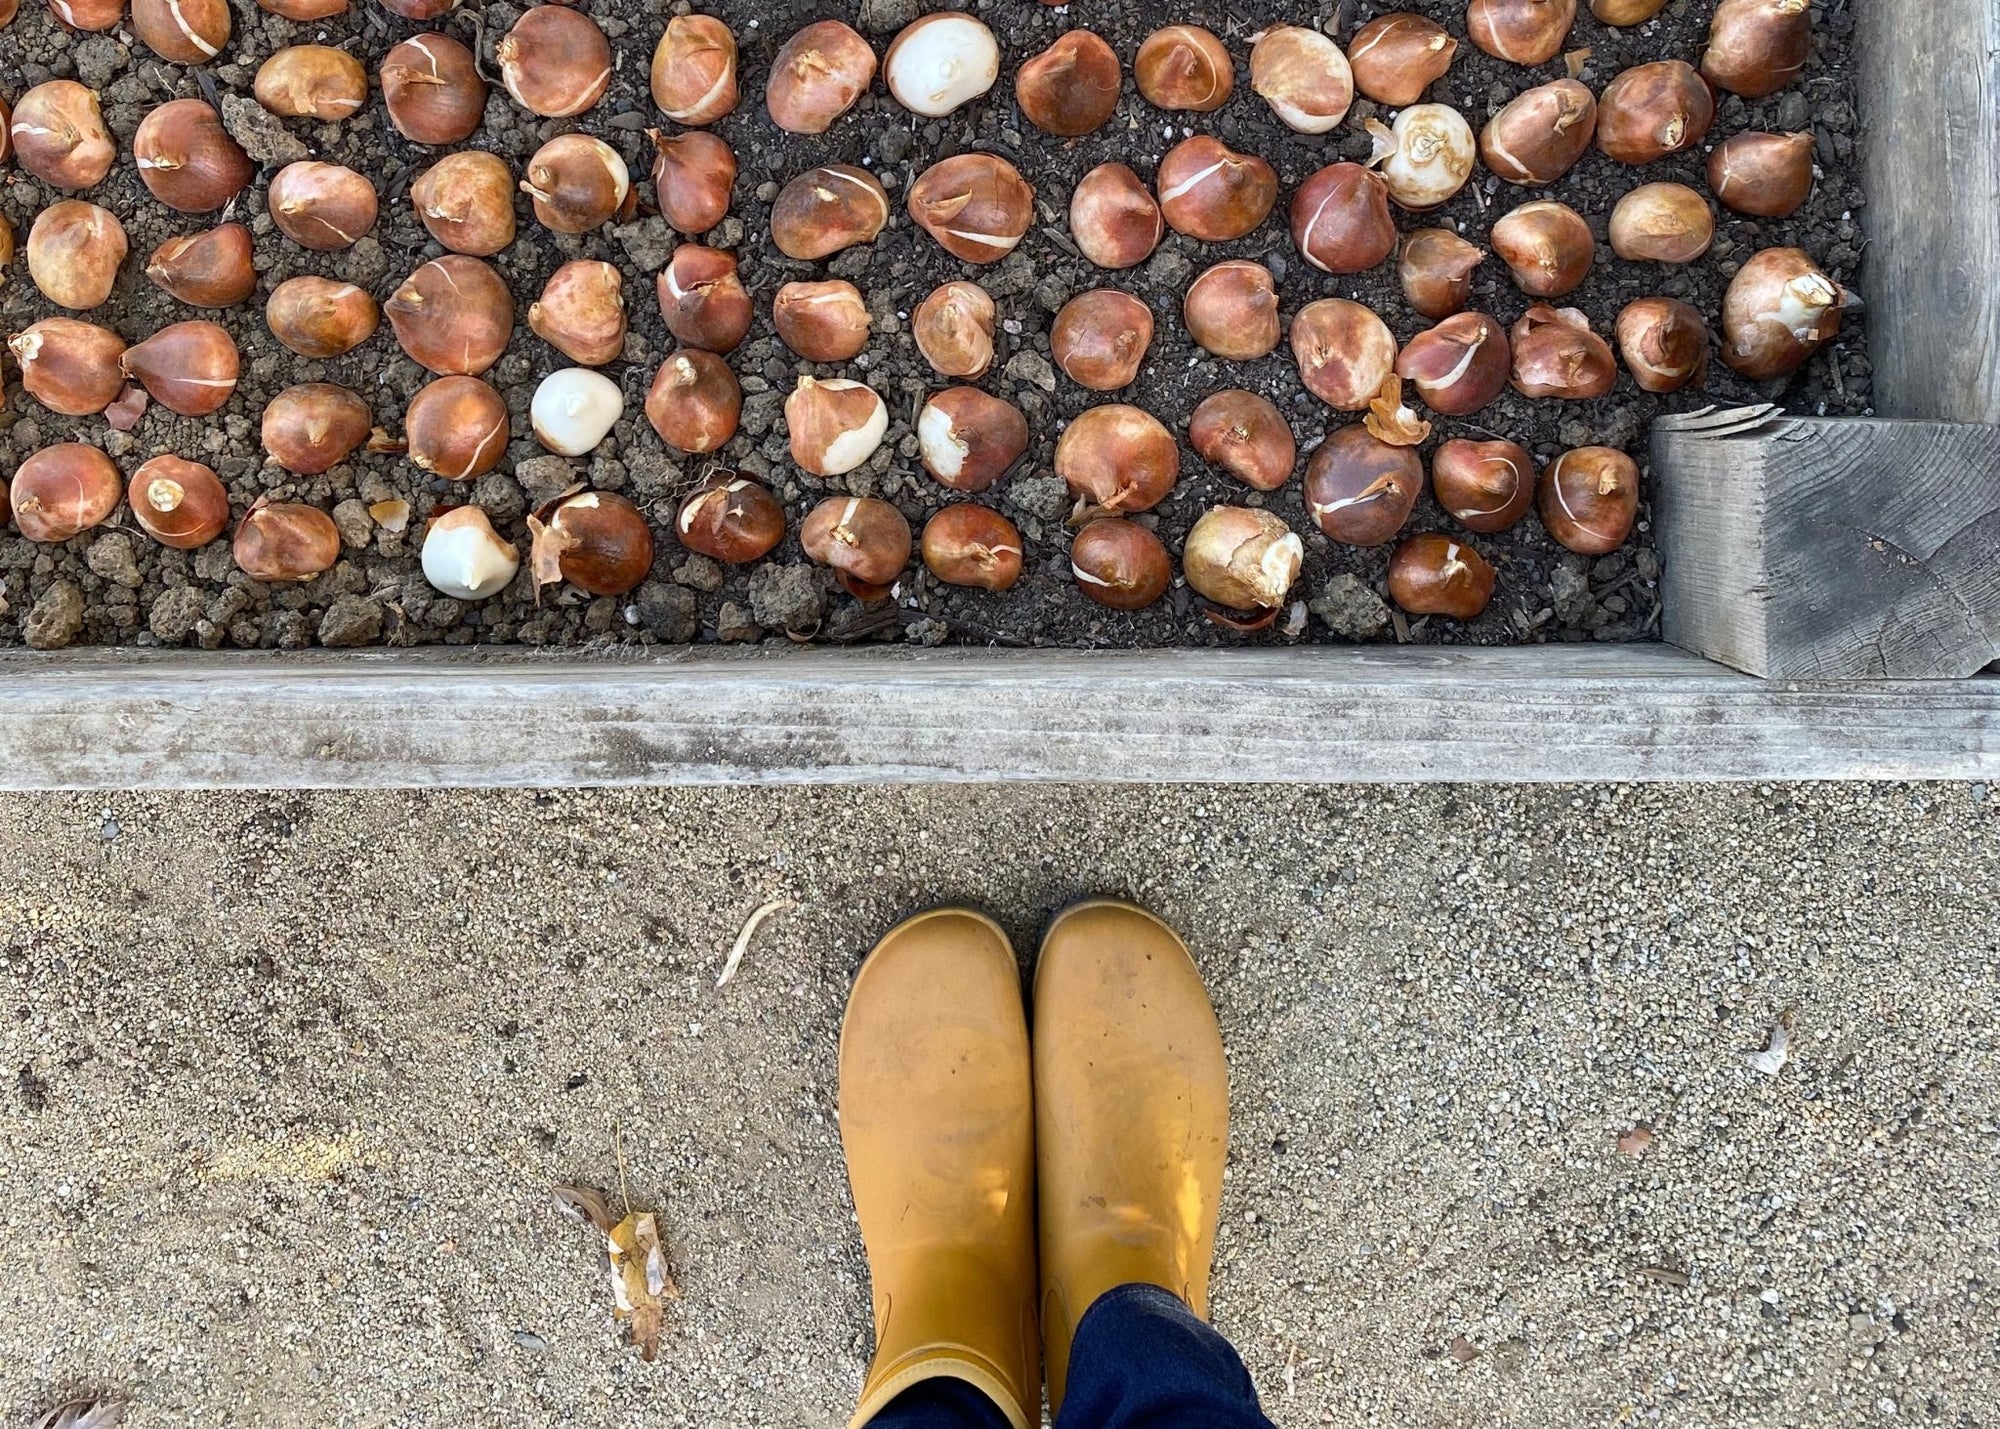
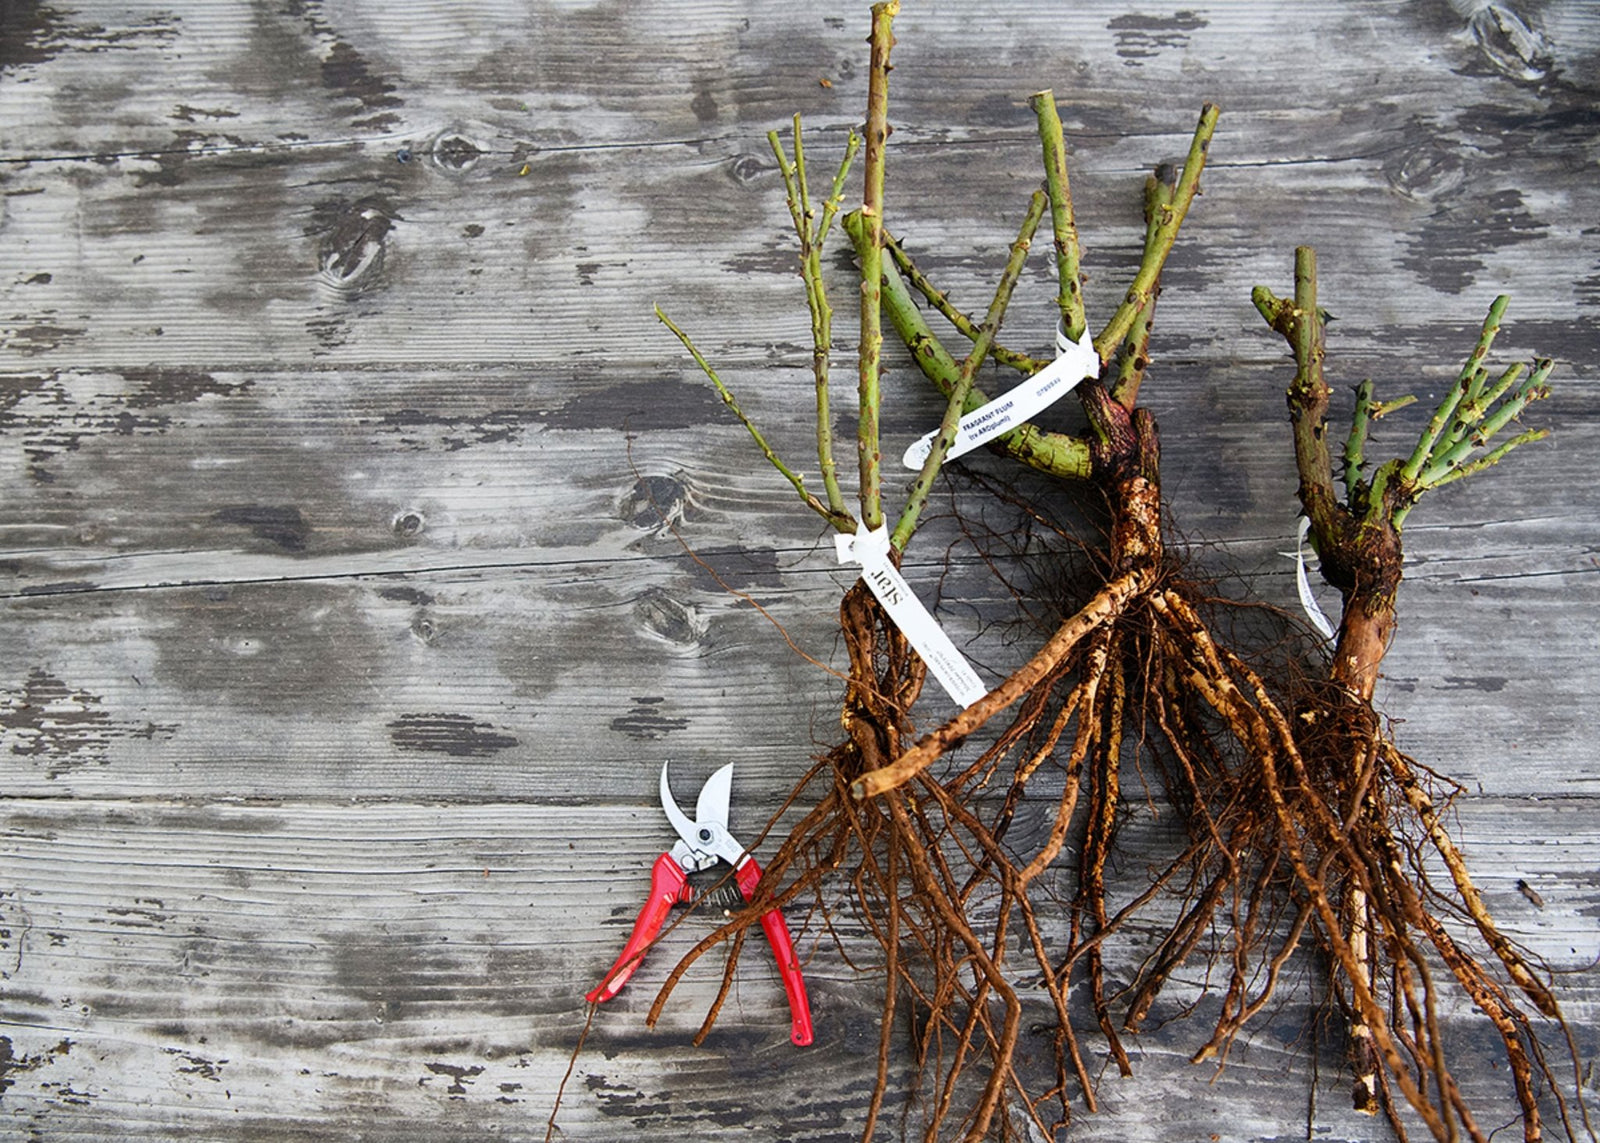
To plant, fill your pot with soil that is 6-12 inches deep. Mix in a balanced fertilizer with the soil if desired. We recommend E.B. Stone Sure Start or Espoma Bulb-tone. Arrange the bulbs in a circle, close together but not touching. Remember to position the tulip bulbs with the pointed side up, just like eggs in a carton. Then, cover them with fresh potting soil and water them thoroughly so the soil is moist but not soggy.
Find our favorite tulip bulb planting supplies on our website and on Felicia’s Amazon Storefront!
HOW DO I CARE FOR MY TULIP BULBS AFTER PLANTING?
The optimum temperature for tulip bulb growth is 35-45 degrees F. If you live in hardiness zones 4-7 and your pot is made from terracotta or is smaller than 24” in diameter, it’s a good idea to bring the pot indoors to avoid freezing temperatures. If you have an enclosed porch or greenhouse, we recommend leaving it outside during the day for sunlight exposure and bringing it in each evening. Continue to water your container weekly or bi-weekly if you do not have rain.
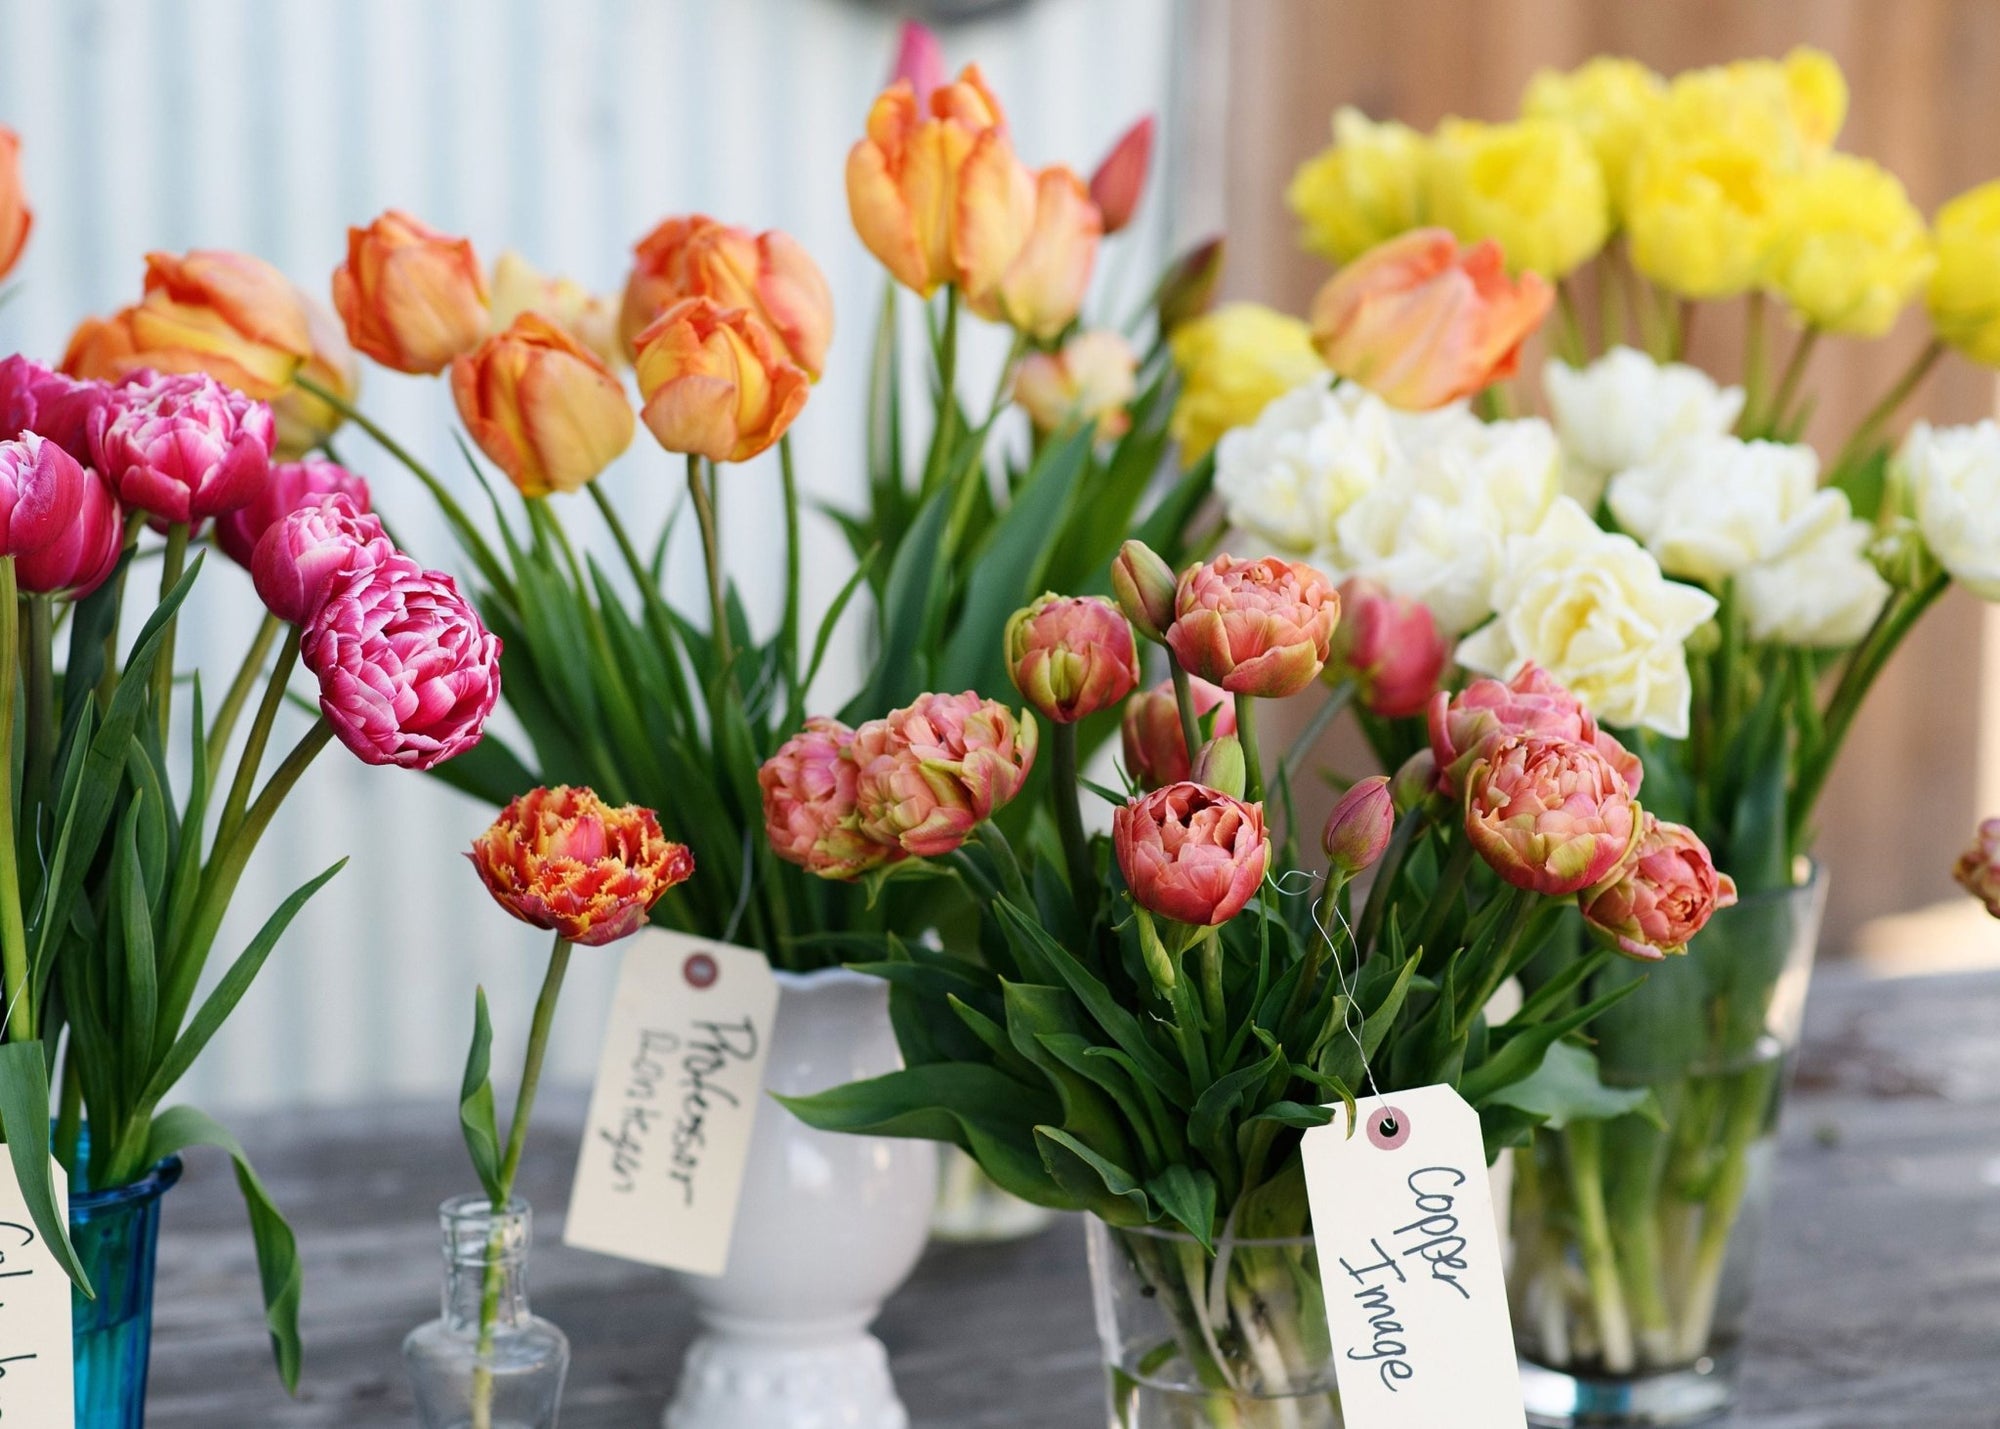
Once early spring comes around, your tulips will start peeking above the surface. Choose a spot for your pot that receives full sun or partial shade. While tulips enjoy sunlight, they prefer not to be exposed to excessive heat.

If space is limited or the ground is frozen, planting tulip bulbs in a pot or container can serve as an excellent alternative. Tulips require minimal maintenance and provide a vibrant splash of color to your porch, balcony, or patio!
Photos by: Jill Carmel Photography
This post may contain affiliate links. I make a small commission if you purchase a product from the link. I only recommend products I love and use in hopes they will help you too!